There is nothing quite like the refreshing, zesty bite of a Key lime pie trifle when the mercury starts to rise. This isn’t just another layered dessert; it is a clinical study in textural contrast, featuring a coarse, buttery graham cracker foundation and a filling so dense it feels like silk on the tongue. Inspired by the bright, morning light of a Florida kitchen, this individual-serving dessert is designed to look as stunning in a faceted glass as it tastes on the spoon.
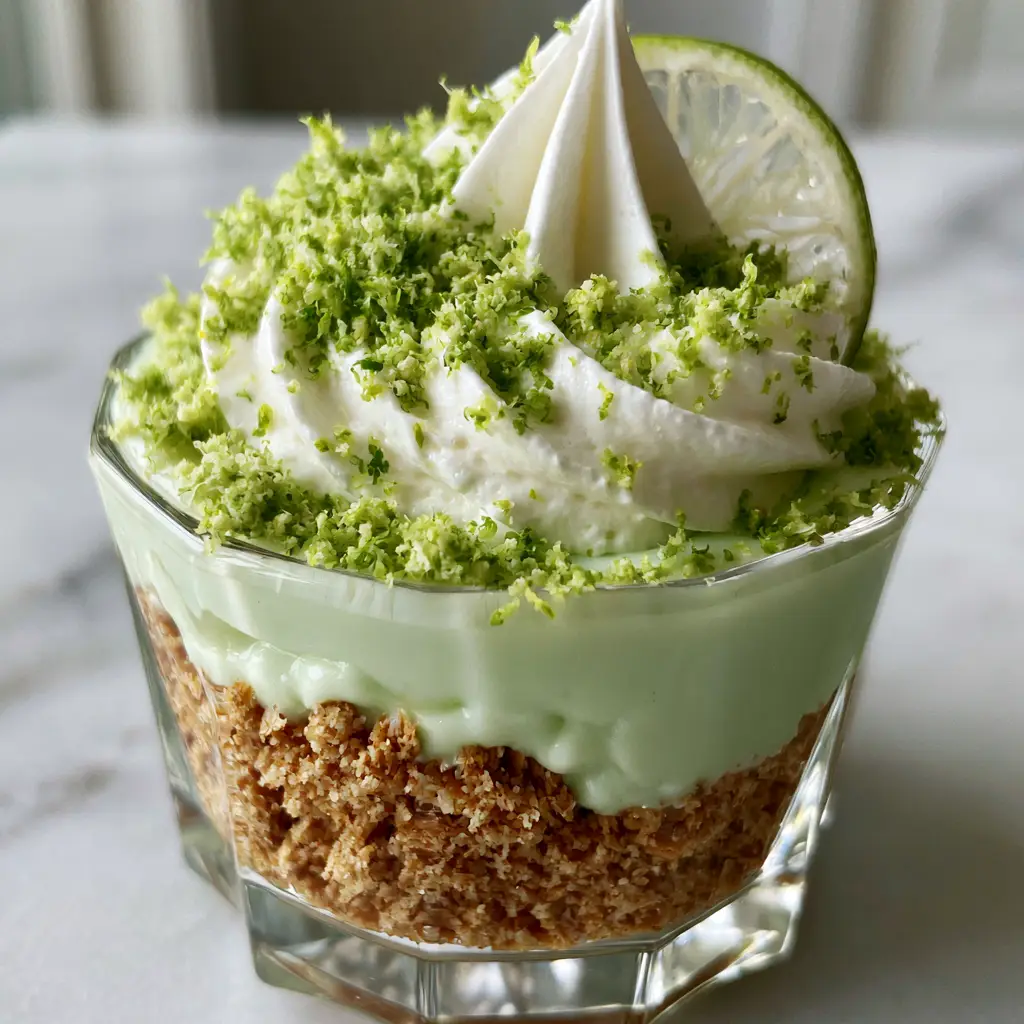
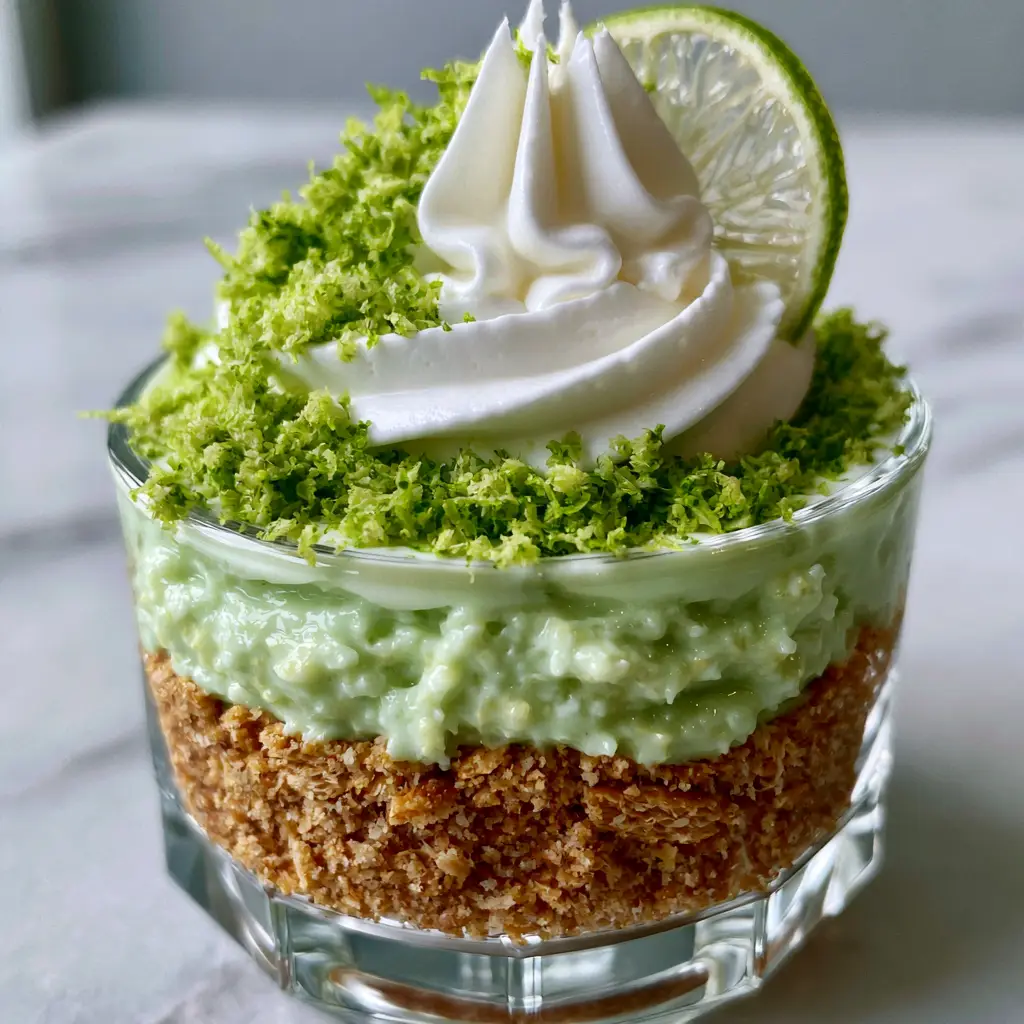
When you look at this Key lime pie trifle, the first thing you notice is the striking visual architecture. The neon-green micro-planed lime zest dances across a snowy mountain of stiff-peak whipped cream, while a paper-thin, translucent lime wheel sits tucked elegantly into the side. It is the ultimate refreshing finish to a summer meal, especially when served alongside other no-bake summer desserts that keep your kitchen cool and your guests impressed.
Why This Individual Key Lime Dessert Is a Total Game Changer
- Forensic Texture Matching: We’ve engineered the graham cracker base to be “coarse and golden,” providing a significant crunch that doesn’t get soggy under the weight of the velvety filling.
- Scientific Thickening: By utilizing the chemical reaction between lime juice and sweetened condensed milk, we achieve a dense, pale-mint green filling without the need for a hot oven.
- Visual Precision: From the large, airy swirls of cream to the vibrant lime dust, every element is designed to replicate the handheld smartphone photo aesthetic of a high-end bistro.
- Perfect Portions: Serving these in faceted glass cups ensures everyone gets the perfect ratio of zest, cream, and crust in every single bite.
The Anatomy of a Perfect Citrus Trifle: Ingredients and Science
Every ingredient in this Key lime pie trifle serves a dual purpose: structural integrity and flavor high-notes. To achieve the professional look seen in the blueprint, we focus on high-fat dairy and fresh, reactive citrus acids.
Coarse Graham Cracker Crumbs: You will need 1.5 cups (150g) of graham crackers. Unlike fine meal used for crusts, these should be crushed into varied, pea-sized pieces to maintain that “textured foundation” described in our visual guide.
Unsalted Melted Butter: Use 6 tbsp (85g) of high-quality butter. This acts as the glue for our crumbs, ensuring the base is “buttery” and golden-brown once chilled.
Sweetened Condensed Milk: One 14oz (396g) can is the heart of the filling. This provides the “velvety” mouthfeel and the sugar base that balances the sharp acidity of the limes.
Fresh Key Lime Juice: You’ll need 1/2 cup (120ml) of juice. The citric acid in the juice reacts with the proteins in the milk to thicken the filling into a dense, spoonable custard without baking.
Heavy Whipping Cream: 1 cup (240ml) of cold heavy cream is essential. To achieve “stiff peaks” that don’t slump, the cream must be at least 36% milk fat and kept ice-cold until the moment of whisking.
Vibrant Lime Zest: Use 2-3 fresh limes for micro-planing. The “neon-green” color comes from using only the topmost layer of the skin—avoid the white pith at all costs to prevent bitterness.
Translucent Lime Slices: One whole lime, sliced paper-thin. These must be “translucent,” meaning you should almost be able to see through them when held up to the light.
Essential Tools for the Pastry Chef Aesthetic
To recreate the visual depth of the Midjourney prompt, you need more than just a spoon. Precision tools are the secret to that “unedited, professional” look.
A Micro-plane Grater is non-negotiable for that heavy dusting of vibrant lime zest. Traditional graters create wet clumps; a micro-plane creates the dry, neon “snow” that makes the topping pop. You will also need a Faceted Glass Set. The ridges in the glass catch the “morning daylight,” creating those realistic highlights and soft shadows mentioned in our visual blueprint.
For the cream, a High-Speed Hand Mixer or stand mixer is required to reach “sharp, stiff peaks.” If the cream is under-whipped, the lime wheel will sink rather than sitting “elegantly” on top. Finally, a Mandoline Slicer is the best way to achieve those “ultra-thin, translucent lime wheels” that serve as the crown of this dessert.
Step-by-Step Evolution of the Key Lime Trifle
Building the Textured Graham Foundation
In a medium bowl, combine your coarse crumbs with the melted butter. Use a fork to toss them until the mixture looks like wet sand but still retains distinct, chunky pieces. Press approximately 3 tablespoons of this mixture into the bottom of each faceted glass. Do not pack it too tightly; we want a “textured foundation” that looks rustic and handmade.
Emulsifying the Pale-Mint Filling
In a separate glass bowl, whisk together the sweetened condensed milk and the key lime juice. As you whisk, you will feel the mixture begin to resist—this is the acid setting the milk proteins. To achieve the “pale-mint green” visual from the prompt, you may add a single drop of natural green food coloring or a teaspoon of very finely minced zest. Pour this velvety mixture over the graham base, filling the glass about two-thirds of the way up.
Whisking the Airy Whipped Topping
Pour the cold heavy cream into a chilled bowl. Whisk on medium-high speed until the trail left by the beaters stays distinct. Continue until you reach “stiff peaks”—where the cream stands straight up when the whisk is lifted. This airy swirl provides the necessary height for our 45-degree angle presentation.
The Final Forensic Flourish
Use a piping bag with a large open star tip to create a “large, airy swirl” on top of the lime filling. Immediately before serving, use your micro-plane to scatter a “heavy dusting” of neon-green zest across the peaks. Finally, take your translucent lime wheel and tuck it “elegantly” into the side of the cream swirl, ensuring it stands upright to catch the light.
Expert Tips for a Picture-Perfect Finish
- The Temperature Rule: Ensure your filling is chilled for at least 2 hours before adding the whipped cream. If the filling is room temperature, the cream will melt at the contact point, destroying the layered look.
- Zest Timing: Only zest the limes directly over the trifles at the last second. Lime oil is volatile; it looks most “vibrant” and “neon” when it is fresh and moist.
- The Translucent Cut: To get the thinnest lime slices, freeze the lime for 15 minutes before slicing. This firms up the pulp, allowing the blade to pass through without tearing the delicate membranes.
- Glassware Prep: Wipe the inside rim of your faceted glasses with a paper towel after pouring the filling. A clean glass is essential for the sharp “45-degree angle” photo aesthetic.
Make-Ahead Mastery and Storage Advice
This Key lime pie trifle is an excellent candidate for advance preparation, provided you follow a few structural rules. The lime filling and graham cracker base can be assembled in the glasses up to 24 hours in advance. Keep them tightly wrapped in plastic wrap to prevent the filling from absorbing “fridge smells.”
However, the “stiff-peak whipped cream” and the “translucent lime wheel” should be added no more than 2 hours before serving. Whipped cream eventually loses its “airy” volume, and the lime slice will begin to weep juice into the cream if left too long. For the best results, store the assembled bases in the refrigerator and do the final “flourish” steps just as your guests are finishing their cold appetizers.
What to Serve with These Zesty Trifles
Because this dessert is so rich and acidic, it pairs beautifully with salty or savory-sweet dishes. If you are hosting a backyard gathering, consider starting with a spread of cowboy caviar dip or a refreshing cucumber ranch salad. These lighter options balance the dense, velvety nature of the trifle.
If you’re leaning into a Southern-style menu, these trifles are the perfect follow-up to a classic southern potato salad or even some savory bacon, egg, and cheese crescent rolls for a fancy brunch. The bright citrus notes act as a palate cleanser, cutting through heavier fats and leaving your guests feeling refreshed.
Frequently Asked Questions
You can assemble the base and the lime filling 24 hours in advance. However, add the whipped cream and lime wheel garnish just before serving to maintain the best texture and visual appeal.
Yes, you can use standard Persian limes. While Key limes are more floral and acidic, regular limes still provide the necessary acid to thicken the condensed milk filling beautifully.
The key is using a micro-plane grater and only zesting the very outer layer of a bright, fresh lime. Avoid the white pith, which is dull in color and bitter in taste.
Authentic Key lime filling is naturally yellowish. To achieve the ‘pale-mint green’ look from our photos, add a tiny drop of natural green food coloring or very finely grated lime zest into the filling mixture.
The thickening occurs due to the reaction between the lime juice and the milk proteins. Ensure you are using full-fat sweetened condensed milk and fresh juice, and give it at least 2 hours in the fridge to fully set.
The Ultimate Key Lime Pie Trifle Recipe
Key Lime Pie Trifle with Velvety Condensed Milk Filling and Golden Graham Crunch
Ingredients
Equipment
Method
- Combine coarse graham cracker crumbs and melted butter in a bowl until the texture resembles wet, chunky sand.
- Distribute the crumbs evenly into 6 faceted glasses, pressing lightly to form a thick, textured foundation.
- Whisk the sweetened condensed milk and key lime juice together until the mixture thickens into a velvety, pale-mint green consistency.
- Spoon the filling over the graham cracker base. Chill in the refrigerator for at least 2 hours to set.
- Beat heavy cream and powdered sugar until sharp, stiff peaks form. Pipe a large, airy swirl onto each trifle.
- Dust heavily with neon-green micro-planed lime zest and tuck an ultra-thin, translucent lime wheel into the cream.
Notes
For the most vibrant look, zest the limes directly over the glass right before serving.
Conclusion: The Ultimate Summer Showstopper
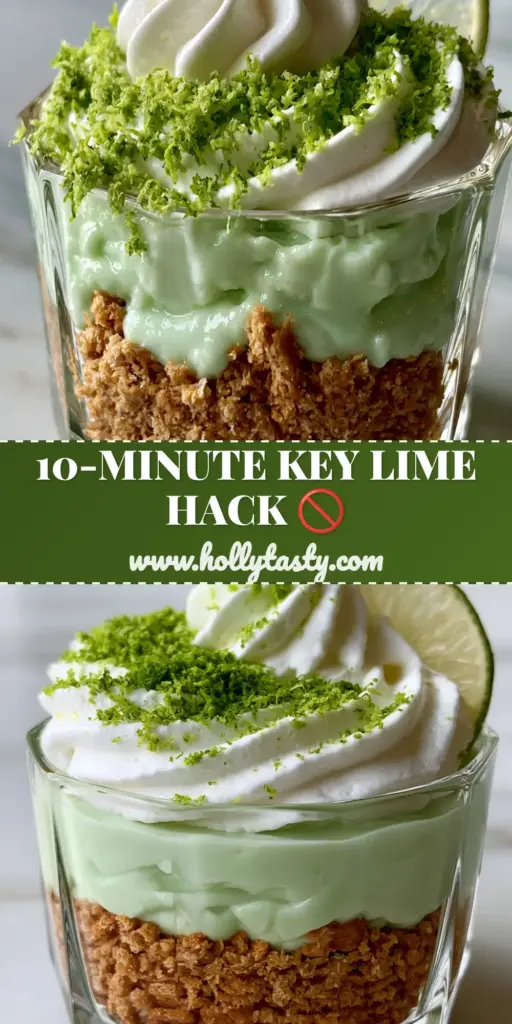
Bringing together the science of citrus and the art of layering, this Key lime pie trifle is more than just a recipe; it’s a sensory experience. From the first crunch of the coarse golden crumbs to the final airy bite of zesty cream, it hits every note a dessert lover craves. Whether you’re photographing it in the morning daylight or serving it under the stars, this dish is guaranteed to be the highlight of your table.
If you loved this recipe, please leave a comment below and let us know how your layers turned out! Don’t forget to share your creations and follow us on Pinterest for more culinary inspiration.