The smash burger bowl is the culinary answer to everyone who craves the intense, savory crunch of a griddled patty without the heaviness of a brioche bun. This isn’t just a salad with a burger on top; it is a high-octane flavor experience designed to mimic the exact textures of your favorite diner burger.
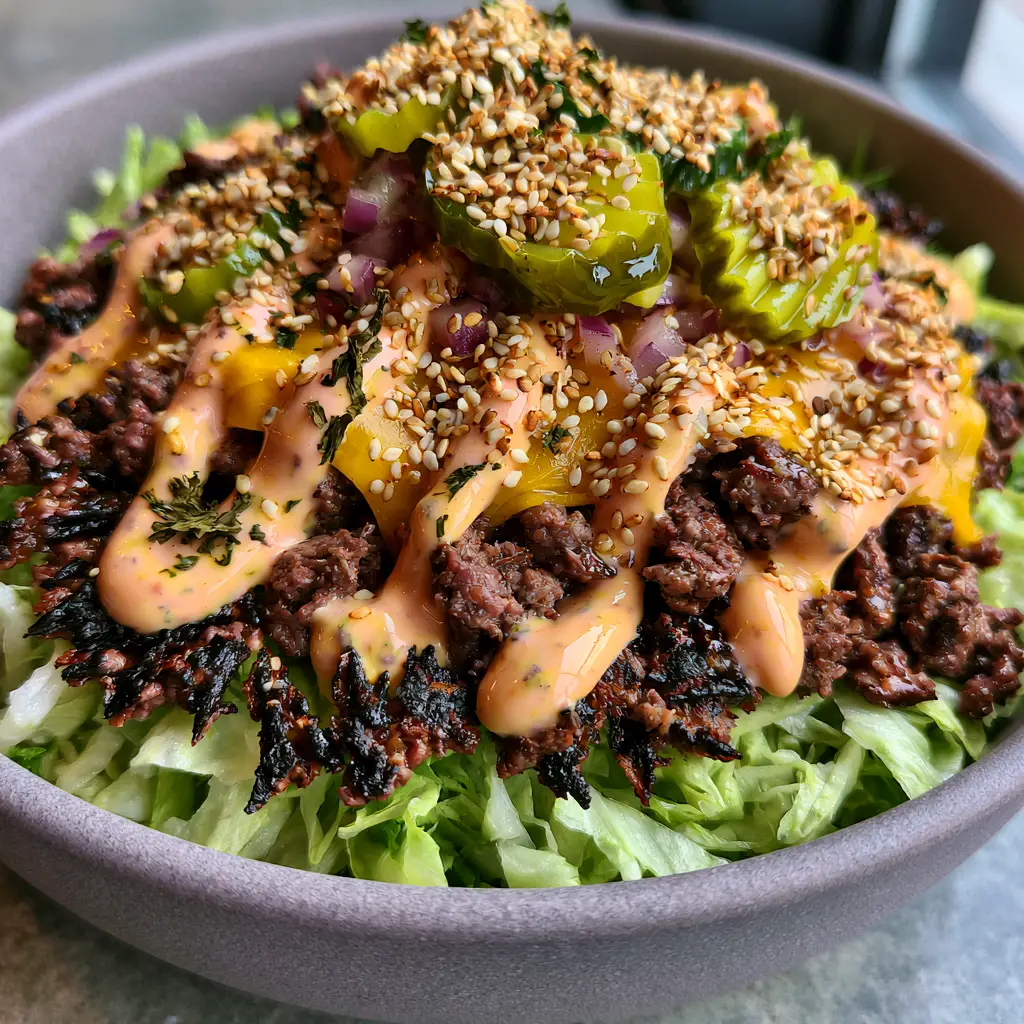
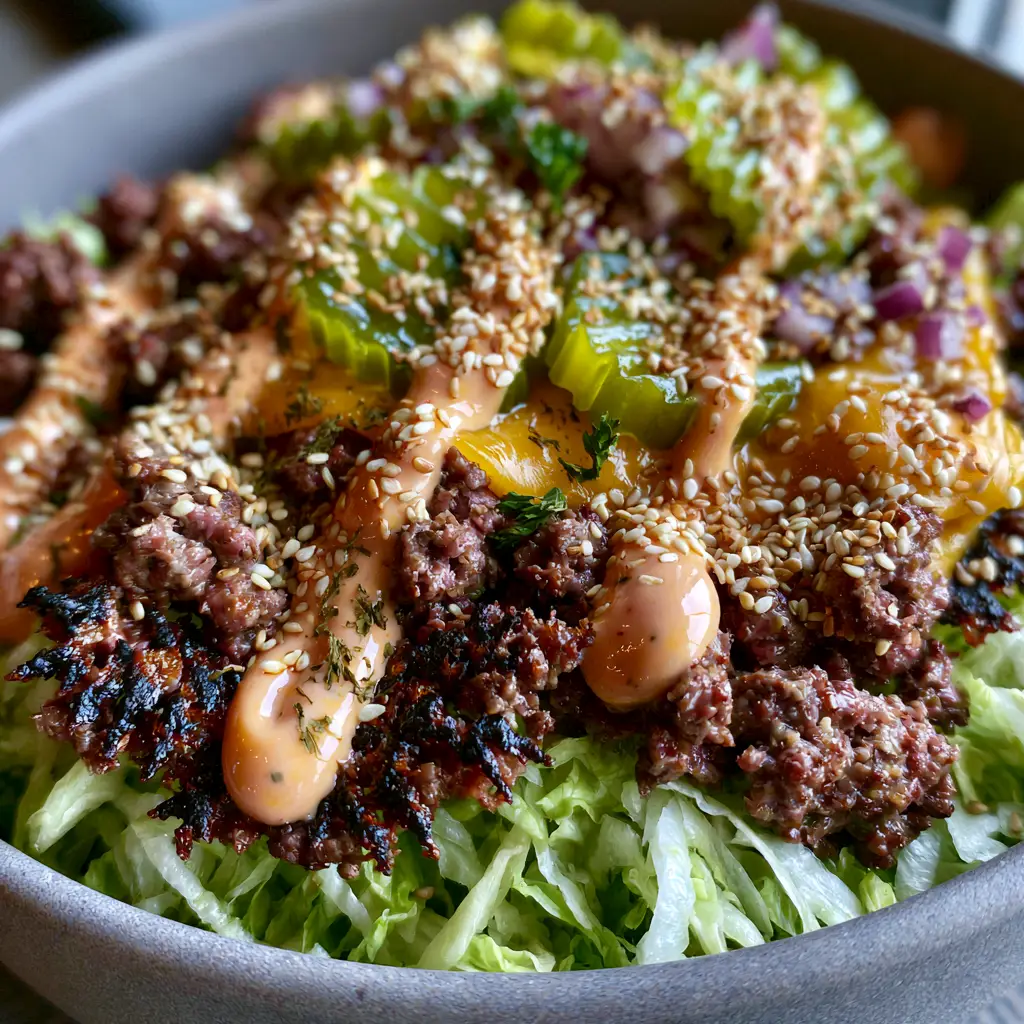
Every bite of this smash burger bowl delivers a contrast between the cooling, watery crunch of shredded iceberg lettuce and the piping hot, jagged edges of perfectly seared ground beef. When those glossy ribbons of orange sauce hit the melted sharp cheddar, you get a restaurant-quality experience right in your own kitchen.
By focusing on the Maillard reaction—that magical chemical process where protein meets high heat—we transform simple ground beef into crispy, mahogany-colored crumbles. This recipe prioritizes visual accuracy and deep flavor, ensuring that your dinner looks exactly like a professional food photograph.
Why This Low-Carb Smash Burger Bowl Works
- The Iconic Texture: We use a specific smashing technique to create those sought-after charred, jagged edges that provide a satisfying “snap” in every mouthful.
- Visual Contrast: The vibrant neon-green pickles and bright red onions pop against the deep brown beef and creamy orange sauce for a feast that is as beautiful as it is delicious.
- Fast-Food Nostalgia: The combination of toasted sesame seeds and dried parsley flakes provides that classic “everything burger” aroma without the carb-heavy bun.
- High-Volume Satisfaction: Using shredded iceberg lettuce as a foundation allows for a massive portion size that feels incredibly indulgent while remaining remarkably light.
Essential Ingredients for the Ultimate Burger Bowl
80/20 Ground Beef (450g / 1 lb): You must use a higher fat content beef to achieve the “shattered” crispy edges; lean beef will simply dry out before it chars. The fat renders out and essentially “fries” the edges of the meat on the griddle.
Iceberg Lettuce (1 small head): While romaine is fine, iceberg is the “gold standard” here for its high water content and superior crunch, which balances the rich, salty beef. Shred it finely to create a dense nest for the toppings.
Sharp Yellow Cheddar (115g / 1 cup shredded): Sharp cheddar provides a bold, acidic punch that cuts through the richness of the meat better than mild versions. We want this melted into a blanket that binds the beef crumbles together.
The “Orange” Burger Sauce: A blend of mayonnaise (120ml / 1/2 cup), yellow mustard (15ml / 1 tbsp), ketchup (30ml / 2 tbsp), and a dash of smoked paprika. This creates those “thick, glossy ribbons” that define the visual aesthetic of a classic smash burger bowl.
Crinkle-Cut Dill Pickles (6-8 slices): These provide the essential vinegar hit and a “neon-green” visual pop that makes the dish look vibrant. The crinkle-cut texture holds onto more of the sauce than smooth slices.
Finely Diced Red Onion (60g / 1/4 cup): Red onion adds a sharp, pungent bite and a beautiful purple hue to the bowl. Dicing them finely ensures you get flavor in every forkful without overwhelming the palate.
Foundational Seasonings: You will need kosher salt, coarse black pepper, and a high-smoke point oil like avocado oil (15ml / 1 tbsp). These are the “invisible” ingredients that facilitate the perfect sear and flavor depth.
The Finishing Touches: Toasted white sesame seeds (5g / 1 tsp) and dried parsley flakes (1g / 1/2 tsp) are non-negotiable for achieving that “macro photography” finish. They add a nutty aroma and a touch of herbal earthiness.
Must-Have Equipment for Perfect Searing
To get the results seen in our photography, you cannot use a non-stick pan. You need a heavy cast-iron skillet or griddle. Cast iron retains heat better than any other material, which is critical when you press the cold beef onto the hot surface.
You will also need a stiff metal spatula (preferably one without slots) and a heavy weight or a second smaller pan. This allows you to apply maximum pressure, forcing the meat into the hot iron to create that “lacy” edge. A large, shallow matte grey ceramic bowl is also recommended for the best presentation.
Mastering the Sear: Step-by-Step Instructions
Step 1: Prep the Cold Components
Start by finely shredding your iceberg lettuce until it resembles thin ribbons. Place a generous mound of the lettuce into your serving bowls to create a stable foundation.
Next, dice your red onion into uniform, tiny pieces and set aside with your crinkle-cut pickles. Whisk your mayonnaise, mustard, ketchup, and paprika together in a small bowl until it reaches a uniform, creamy pale orange color.
Step 2: The Smashed Beef Technique
Heat your cast iron skillet over high heat until it is wisping with smoke. Lightly coat the pan with a high-smoke point oil. Divide your beef into loose balls—do not overwork the meat, or it will become tough.
Place a beef ball onto the skillet and immediately use your stiff spatula and weight to press it down with significant force. You want the meat to be as thin as possible, especially at the edges, to create those charred, jagged bits seen in the smash burger bowl photos.
Step 3: Creating the Maillard Crust
Leave the beef undisturbed for 2-3 minutes. You are looking for a specific sensory cue: the edges should look dark brown and brittle, and the juices should start bubbling through the top of the meat. This is the Maillard reaction in full effect.
Carefully scrape under the meat with your metal spatula, ensuring you keep the crust intact. Flip the meat and immediately top with the shredded sharp cheddar. Cover the pan for 30 seconds to create a glossy, melted blanket over the beef.
Step 4: Assembling the Masterpiece
Transfer the seared beef crumbles onto the bed of lettuce. Arrange the neon-green pickles and diced red onions artistically around the meat to ensure every color is visible.
Drizzle the creamy orange burger sauce in thick, artistic ribbons over the center of the bowl. Finish the dish with a heavy sprinkle of toasted white sesame seeds and a pinch of dried parsley flakes for that final professional touch.
Expert Tips for the Best Smash Burger Bowl
- Keep the Meat Cold: Keep your ground beef in the refrigerator until the very second it hits the pan. Cold fat hitting a hot pan creates a better steam-shatter effect, leading to crispier edges.
- Don’t Move the Meat: Once you smash the beef, do not touch it. Moving it prevents the crust from forming and will result in grey, steamed meat instead of charred edges.
- Salt at the Last Second: Only salt the beef once it is in the pan. Salting meat too early can change the protein structure, leading to a “sausage-like” texture rather than a crumbly burger texture.
- The Sauce Drizzle: For the most professional look, put your burger sauce in a small plastic squeeze bottle or a zip-top bag with the corner snipped off to get those clean, glossy ribbons.
Storage and Meal Prep Advice
If you are meal prepping this smash burger bowl, it is vital to keep the hot and cold components separate. Store the seared beef and cheese in one container and the shredded lettuce and toppings in another. Reheat the beef in a dry skillet for 2 minutes to revive the crispy edges before assembling.
The burger sauce will stay fresh in an airtight container for up to 5 days. We do not recommend freezing the assembled bowl, as the iceberg lettuce will lose its structural integrity and become soggy upon thawing.
What to Serve with Your Burger Bowl
Since this smash burger bowl is a complete meal on its own, you might want to pair it with some complementary sides for a full spread. For a classic picnic-style feel, try serving it alongside some creamy southern potato salad.
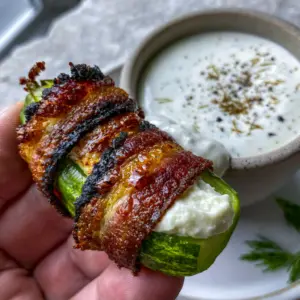
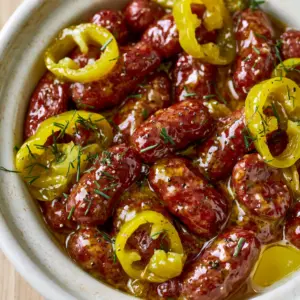
If you are hosting a summer gathering, you could start the meal with refreshing cold appetizers or a light cucumber ranch salad. For those who want more protein variety, these sweet and savory bacon-wrapped smokies make an excellent side dish.
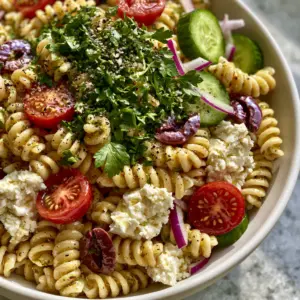
To round out the meal with something plant-based, a chickpea and feta salad provides a nice Mediterranean contrast to the American flavors of the burger bowl.
Frequently Asked Questions
While you can use turkey, it lacks the fat content necessary to create the iconic charred, jagged edges seen in the photos. If using turkey, add a teaspoon of oil to the pan for every patty.
The creamy orange color comes from the ratio of mayonnaise to ketchup and mustard. Adding a pinch of smoked paprika helps deepen the hue and adds a subtle smoky flavor.
Yes, this recipe is naturally low-carb and keto-friendly. To keep sugar counts lowest, use a sugar-free ketchup for the burger sauce.
A heavy cast-iron skillet or a stainless steel griddle is best. These materials can withstand the high heat and pressure required to create the crispy Maillard crust.
Iceberg lettuce provides a superior ‘crunch’ and high water content that mimics the refreshing bite of a fast-food burger, whereas darker greens like spinach can become wilted under the hot beef.
The Perfect Smash Burger Bowl Recipe
Ready to bring the diner experience home? This recipe captures the essence of a traditional smash burger but serves it in a way that highlights fresh vegetables and bold sauces. Follow the instructions below for the most visually stunning and delicious result.
Smash Burger Bowl: The Ultimate Crispy, Charred Low-Carb Meal
Ingredients
Equipment
Method
- Finely shred the iceberg lettuce and divide into two shallow bowls. Whisk together mayonnaise, ketchup, mustard, and paprika to create the creamy orange sauce.
- Heat a cast iron skillet over high heat. Place cold beef balls in the pan and smash firmly with a spatula. Season with salt and pepper.
- Cook for 2-3 minutes until edges are charred and jagged. Flip, top with cheddar cheese, and cover briefly to melt the cheese.
- Place the cheesy beef over the lettuce. Add onions and pickles. Drizzle with sauce and sprinkle with sesame seeds and parsley flakes.
Notes
Use a very hot cast iron pan for the authentic 'smash' texture.
Closing & Call to Action
The smash burger bowl is more than just a trend; it’s a versatile, flavor-packed way to enjoy high-quality ingredients with minimal effort. Whether you’re looking for a quick weeknight dinner or a stunning meal-prep option, this dish never fails to impress with its charred textures and creamy finish.
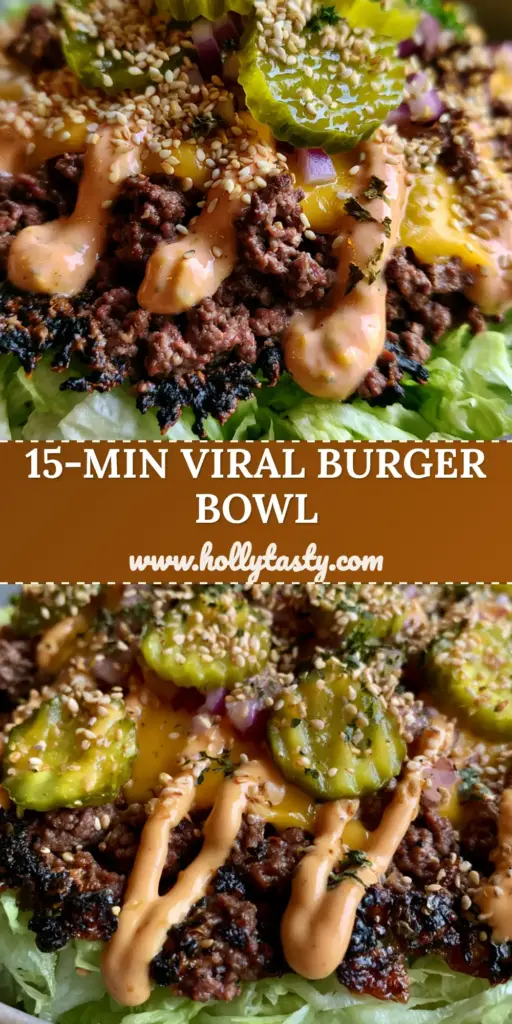
If you loved this recipe, please leave a comment below and let us know how your crispy edges turned out! Don’t forget to sign up for our newsletter for more culinary deep-dives and follow us on Pinterest for daily inspiration. Save this recipe to your “Healthy Dinners” board by clicking the pin below!