When the sun is blazing and the kitchen feels like a sauna, the last thing anyone wants to do is crank up the oven. That is where No-bake summer desserts become the undisputed heroes of the season. Imagine a dessert that requires zero heat but delivers a professional, high-end pastry shop aesthetic right in your own home.
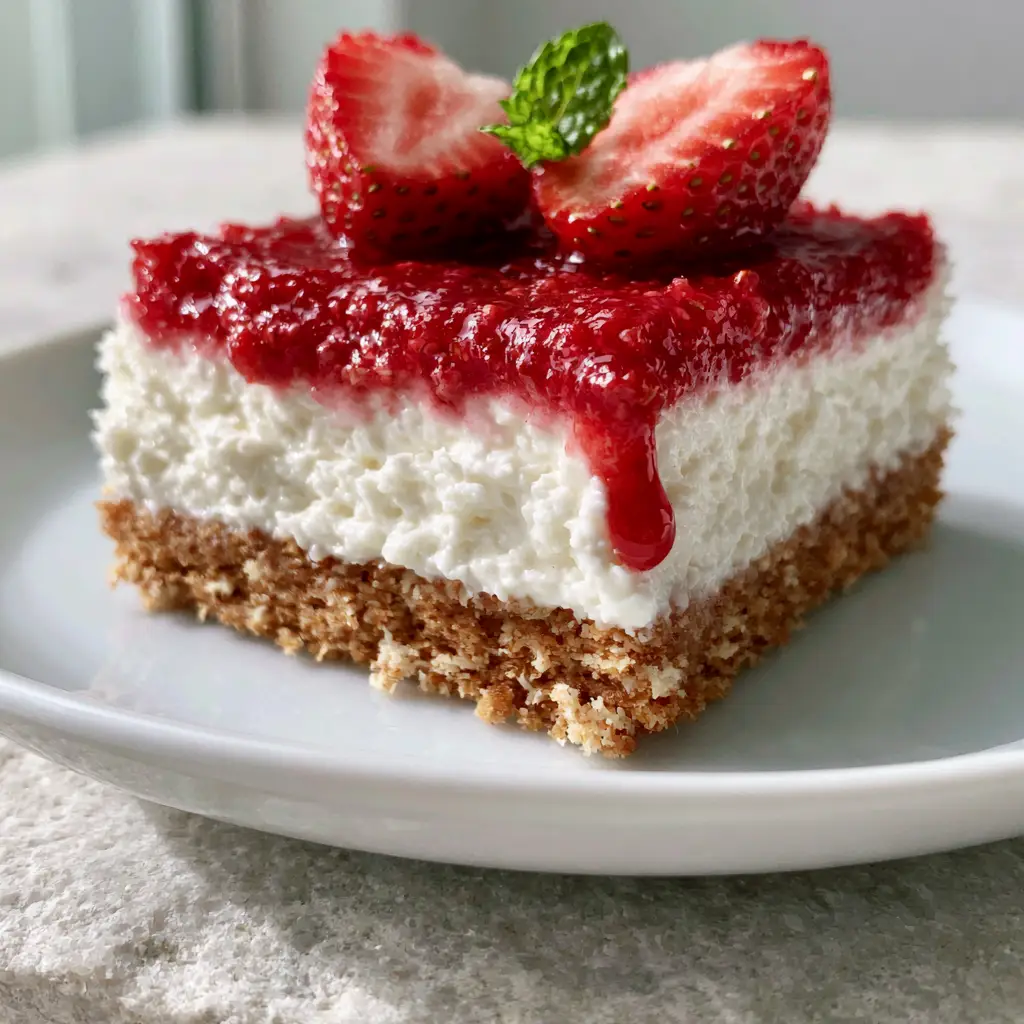
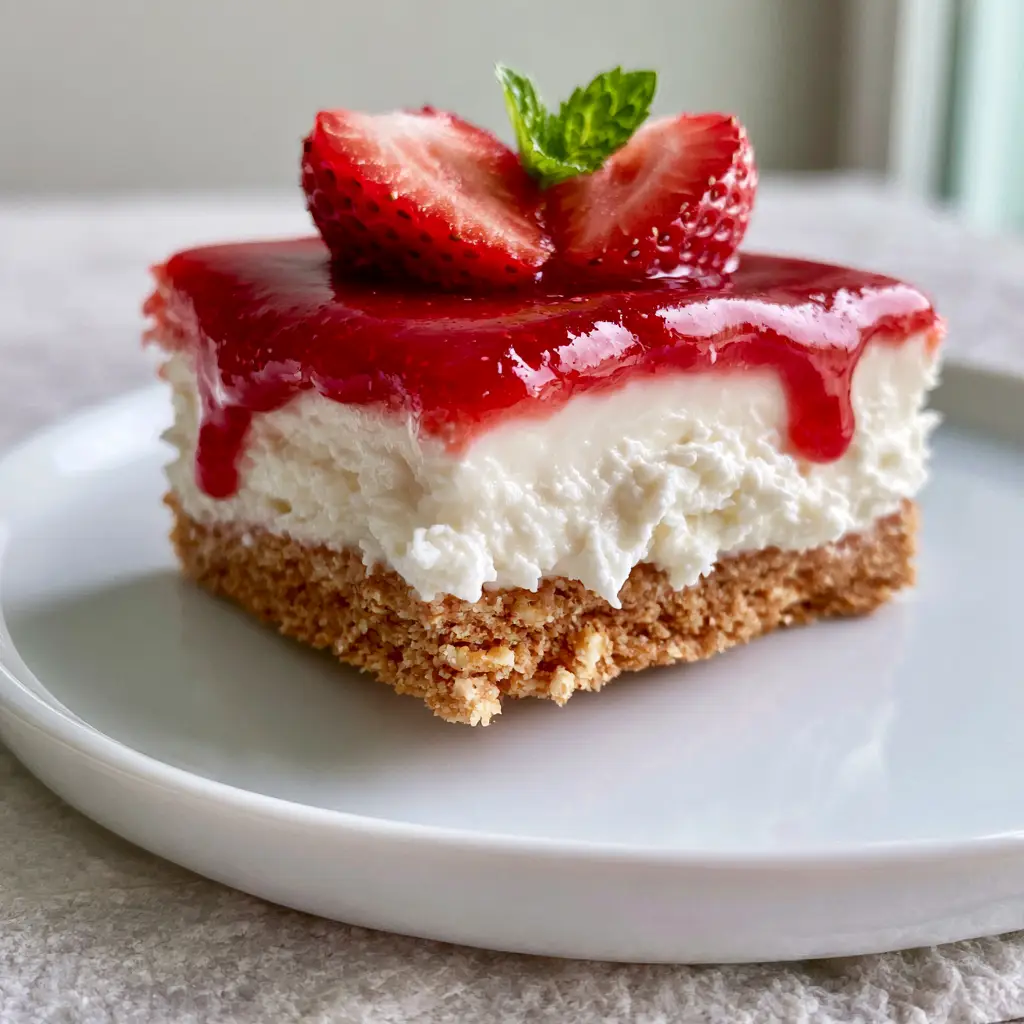
These strawberry cheesecake bars are designed for visual impact and sensory indulgence. We are talking about a thick, two-inch snow-white filling that sits atop a dense, buttery golden foundation. The crowning glory is a ruby-red glossy glaze that catches the light and invites that first, irresistible bite.
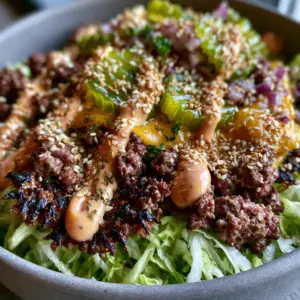
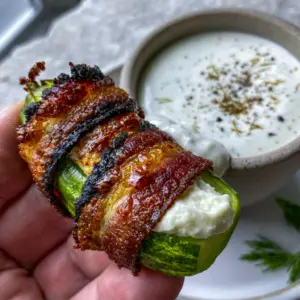
Whether you are hosting a backyard barbecue or just need a refreshing treat after a long day, this recipe provides the ultimate cooling relief. It is the perfect companion to other seasonal favorites like a creamy cucumber ranch salad or a vibrant tray of chilled appetizers. Let’s dive into how to create this masterpiece without breaking a sweat.
The Anatomy of a Perfect Summer Cheesecake Bar
- Structural Integrity: A dense graham cracker crust that holds its shape even when held aloft for that perfect social media photo.
- Whipped Velvet Texture: A filling that is airy enough to be refreshing but stable enough to stand two inches tall.
- High-Gloss Finish: A cooked strawberry reduction that provides a mirror-like shine and a concentrated punch of fruit flavor.
- Sensory Contrast: The crunch of the golden crumbs against the silkiness of the cream cheese and the fresh snap of a ripe strawberry garnish.
The Golden Foundation: Crust Ingredients
Graham Cracker Crumbs: You will need 1 ½ cups (150g) of finely ground crumbs. These provide the earthy, honey-sweet base that balances the tang of the cheese. If you enjoy this texture, you might also love the crunch in a no-bake Oreo dessert.
Unsalted Butter: Use 6 tbsp (85g) of high-quality melted butter. This acts as the glue, saturating every crumb to ensure a crust that is “dense and golden-brown” rather than crumbly and dry.
Granulated Sugar: Just 2 tbsp (25g) helps to slightly caramelize the crust as it sets in the fridge, adding a subtle depth of flavor.
Fine Sea Salt: A tiny pinch (approx. 1g) is the “invisible” ingredient that cuts through the richness of the butter and heightens the graham flavor.
The Snow-White Center: Filling Essentials
Full-Fat Cream Cheese: You need 24 oz (680g) of brick-style cream cheese, softened to room temperature. This is the structural heart of the dessert; using low-fat versions will result in a filling that lacks the “velvety, snow-white” density required.
Powdered Sugar: 1 ½ cups (180g) provides sweetness without the graininess of granulated sugar, ensuring the texture remains perfectly smooth.
Heavy Whipping Cream: 1 cup (240ml) of very cold cream is whipped into stiff peaks before being folded in. This is the secret to the “soft, whipped texture” and the impressive 2-inch height.
Lemon Juice: 1 tbsp (15ml) of fresh juice provides a necessary acidic brighten and helps the proteins in the cream cheese set more firmly.
Pure Vanilla Extract: 1 tsp (5ml) adds a floral aroma that bridges the gap between the tangy cheese and the sweet strawberry topping.
The Ruby-Red Topping: Glaze & Garnish
Fresh Strawberries: You will need 2 cups (300g) for the glaze reduction and extra for the “halved fresh strawberries” used as a garnish. Freshness is key here for that vibrant, natural color.
Cornstarch: 1 tbsp (8g) dissolved in a little water creates the “glossy” consistency and ensures the glaze is thick enough to “drip down the side” without running everywhere.
Fresh Mint Sprigs: These provide a “tiny, bright green” pop of color that makes the red of the strawberries look even more intense.
Professional Tools for Success
To achieve the “minimalist” look of a high-end bakery, you will need an 8×8 inch (20x20cm) square baking pan. Lining this with parchment paper with a slight overhang is non-negotiable for lifting the bars out cleanly.
A stand mixer or a powerful hand mixer is essential for aerating the filling. Without it, you won’t achieve the “snow-white, whipped” volume. You’ll also need a small saucepan to simmer the strawberry glaze into a thick, ruby-red syrup.
Step 1: Pressing the Buttery Graham Base
Start by combining your graham cracker crumbs, sugar, and salt in a medium bowl. Pour the melted butter over the mixture and stir with a fork until it looks like wet sand. You should be able to press a handful together and have it hold its shape.
Transfer the mixture to your prepared pan. Use the bottom of a flat measuring cup to press the crumbs firmly into the corners and edges. This creates the “dense, golden-brown crust” visible in the final bars. Chill this in the freezer for 15 minutes while you prepare the filling.
Step 2: Crafting the Two-Inch Whipped Filling
In a large bowl, beat the softened cream cheese and powdered sugar until completely smooth and free of lumps. This usually takes about 3 minutes on medium-high speed. Scrape down the sides of the bowl frequently to ensure every bit is incorporated.
In a separate chilled bowl, whip the heavy cream until stiff peaks form. The cream must be very cold to hold its volume. Gently fold the whipped cream into the cream cheese mixture using a silicone spatula. The goal is to maintain the air you’ve worked in, resulting in that “velvety, snow-white” appearance. Pour this over the crust, smoothing the top with an offset spatula to create a level surface.
Step 3: Simmering the Glossy Strawberry Glaze
Puree 1 cup of the strawberries and strain them into a small saucepan to remove the seeds. Add a splash of water and the cornstarch slurry. Simmer over medium heat, stirring constantly, until the mixture thickens and becomes translucent and “glossy ruby-red.”
Allow the glaze to cool to room temperature before pouring it over the chilled cheesecake layer. If the glaze is too hot, it will melt the whipped filling and ruin the distinct white-and-red layers. Spread it gently to the edges, allowing for those beautiful drips to form later when sliced.
Step 4: The Final Chill and Artistic Garnish
Patience is the most important ingredient in No-bake summer desserts. Refrigerate the bars for at least 4-6 hours, though overnight is best for the cleanest slices. The filling needs this time to “set” into its final chilled state.
Just before serving, lift the bars out of the pan using the parchment paper handles. Use a hot, sharp knife to cut them into thick squares. Top each square with “two perfectly ripe, halved strawberries” and a “tiny, bright green mint leaf” as specified in our visual blueprint. The result should look like a macro food photograph: vibrant, fresh, and professional.
Expert Tips for Bakery-Style Results
- The Hot Knife Trick: For perfectly clean edges, dip your knife in hot water and wipe it dry between every single cut. This prevents the filling from sticking and blurring the layers.
- Room Temperature Cheese: Cold cream cheese will result in tiny white lumps that ruin the “velvety” texture. Let it sit out for at least 2 hours before mixing.
- Stiff Peaks Matter: Don’t under-whip your cream. It needs to be firm enough to support the weight of the strawberry glaze.
- Avoid Over-Stirring: When folding the cream into the cheese, use a “figure-eight” motion to keep the filling light and airy.
The Best Pairings for a Summer Spread
These bars are rich and creamy, so they pair beautifully with lighter, savory options. Consider serving them alongside a chickpea and feta salad for a balanced lunch. If you are doing a full dessert spread, they look stunning next to a key lime pie trifle or some lemonade puppy chow.
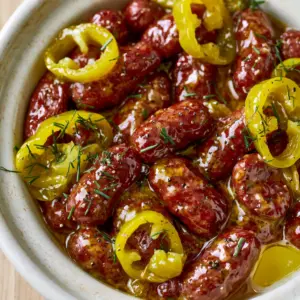
For a more rustic summer gathering, these bars follow a savory course of bacon wrapped little smokies or a classic Southern potato salad perfectly.
Storage and Make-Ahead Advice
These cheesecake bars can be made up to 2 days in advance, making them perfect for stress-free entertaining. Store them in an airtight container in the refrigerator. We do not recommend freezing them, as the “whipped white cream cheese filling” can lose its velvety texture and become grainy once thawed.
The strawberry glaze is best added within 24 hours of serving to maintain that high-gloss, ruby-red shine. If the mint leaves begin to wilt, simply replace them with fresh ones just before the tray hits the table.
Frequently Asked Questions
The lemon juice helps the filling set and adds tang. You can substitute it with lime juice or ½ tsp of citric acid, but lemon provides the most classic ‘cheesecake’ flavor profile.
Yes, you can use frozen strawberries for the glaze reduction. Just ensure you simmer it long enough to evaporate excess moisture and achieve that glossy, thick consistency.
Using an 8×8 inch pan is key. If you use a larger 9×13 pan, the layers will be much thinner. Always use full-fat cream cheese and properly whipped heavy cream to maintain volume.
Since these are chilled no-bake treats, they shouldn’t sit out for more than 2 hours. In extreme summer heat, keep them in the fridge or on a bed of ice until the moment you serve.
This usually happens if the butter wasn’t thoroughly mixed or the crust wasn’t pressed firmly enough. Use the bottom of a flat glass or measuring cup to pack the crumbs tightly into the pan.
The Ultimate No-Bake Strawberry Cheesecake Bars
No-bake summer desserts: Velvety Strawberry Cheesecake Bars
Ingredients
Equipment
Method
- Mix graham cracker crumbs, melted butter, sugar, and salt until it resembles wet sand.
- Press the mixture firmly into the bottom of a lined 8x8 pan. Freeze for 15 minutes.
- Beat softened cream cheese and powdered sugar until velvety and snow-white.
- Whip heavy cream to stiff peaks in a separate bowl. Gently fold the cream and lemon juice into the cheese mixture.
- Spread the 2-inch thick filling over the crust and smooth the top. Refrigerate.
- Simmer strawberry puree and cornstarch slurry until it becomes a glossy ruby-red glaze. Cool completely.
- Pour glaze over cheesecake and chill for at least 4 hours.
- Slice into bars, garnish with halved strawberries and mint sprigs.
Notes
Ensure the strawberry glaze is completely cool before adding it to the cream cheese layer.
Join the No-Bake Revolution!
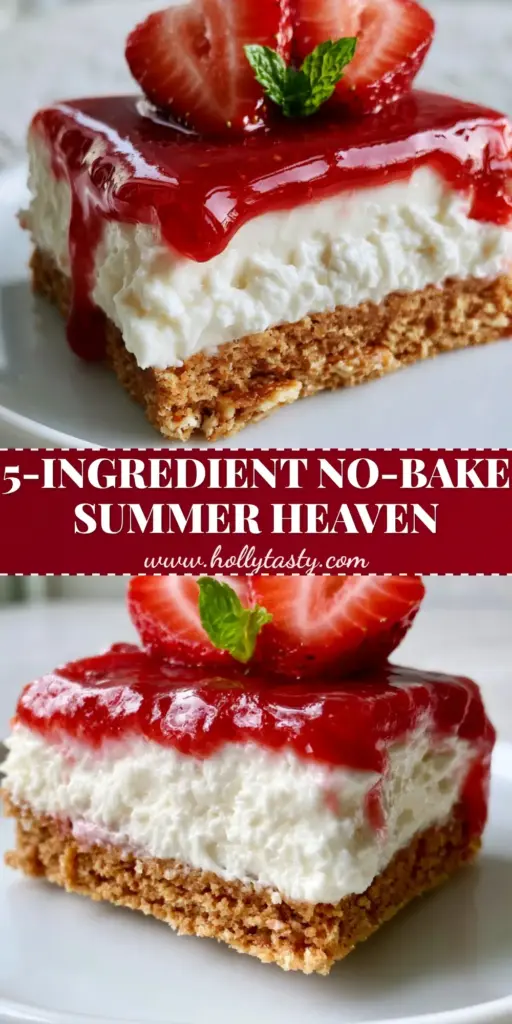
We hope these strawberry cheesecake bars become a staple in your collection of No-bake summer desserts. They offer the perfect blend of ease and elegance, proving you don’t need an oven to create a show-stopping finish to your meal. If you made these, we would love to see your results! Leave a comment below and let us know how the glossy glaze turned out.
Don’t forget to share your creations and follow us for more culinary inspiration on Pinterest for all your seasonal recipe needs!