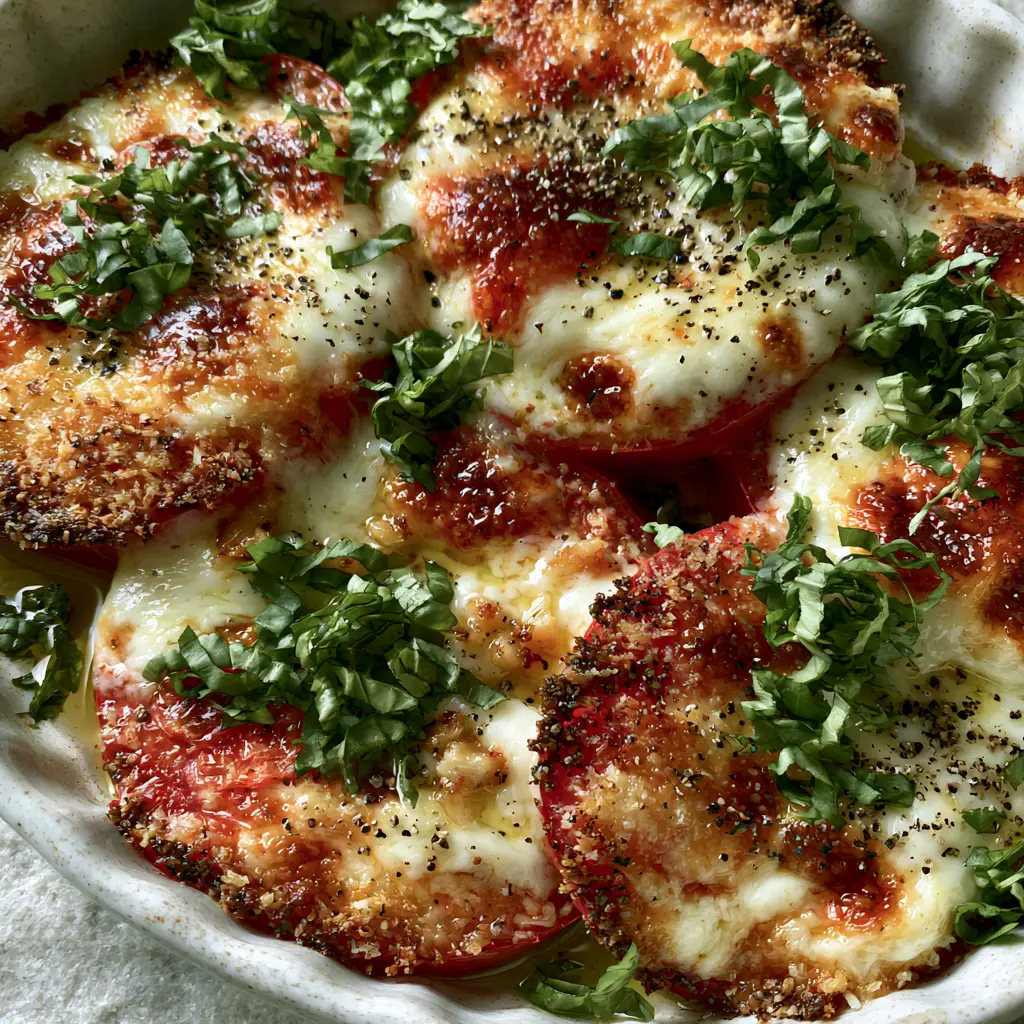
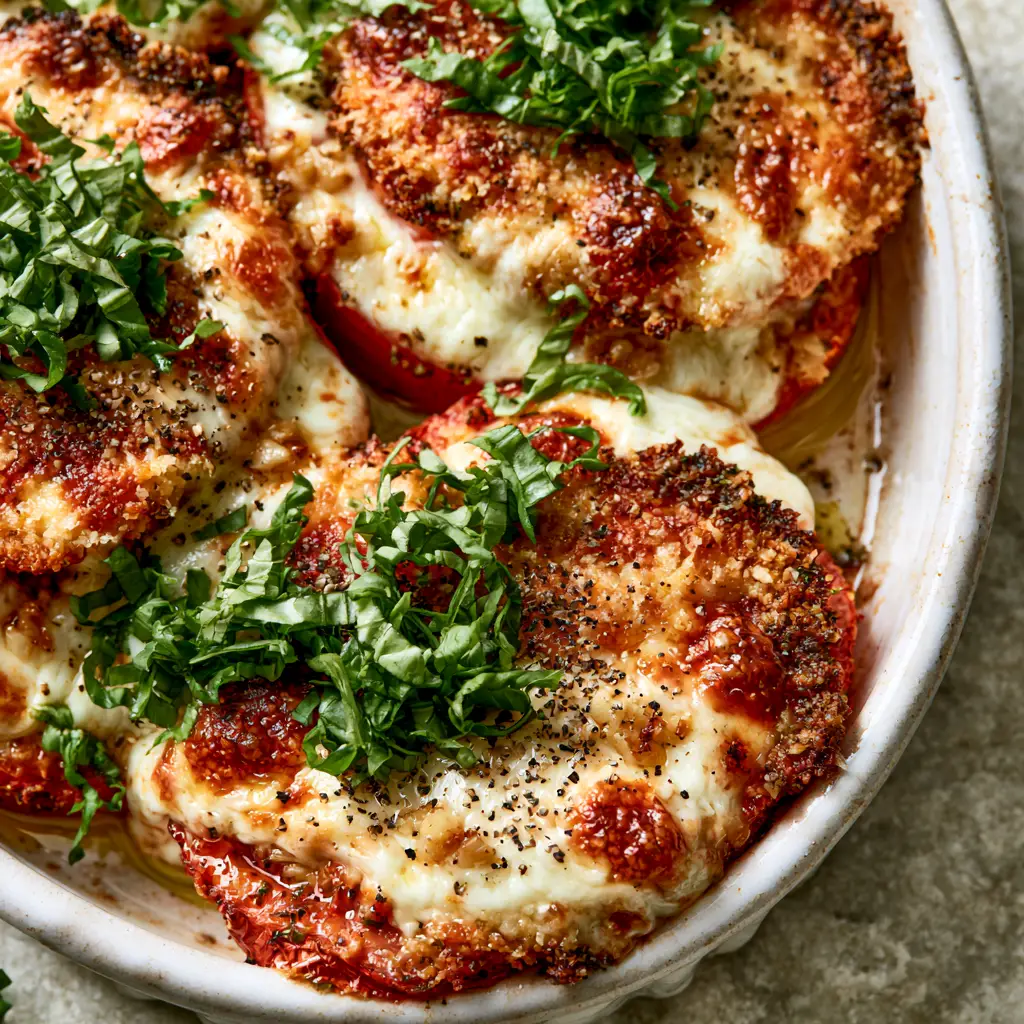
When the sun-drenched flavors of late summer meet the comforting, gooey embrace of melted mozzarella, magic happens in the kitchen. Baked tomatoes with cheese are more than just a simple side dish; they are a masterclass in textural contrast and concentrated umami flavor. Imagine a thick slice of Roma tomato, roasted until its skin is perfectly blistered and its flesh is tender, topped with a bubbling, golden-brown parmesan crust that shatters with every bite.
This recipe isn’t about tossing a few ingredients together; it is about the culinary forensic details that elevate a humble vegetable to a gourmet experience. We are focusing on the precise balance between the acidity of the Roma, the richness of the extra virgin olive oil, and the sharp, salty crunch of toasted parmesan. Whether you are looking for a sophisticated appetizer or a low-carb side, these tomatoes deliver a sensory explosion that looks as stunning on the plate as it tastes on the palate.
Why This Cheesy Tomato Bake Will Become Your New Obsession
- Blistered Perfection: We utilize high-heat roasting to ensure the Roma tomato skins achieve that signature blistered texture while the centers remain succulent and jammy.
- The Dual-Cheese Layer: By combining low-moisture mozzarella for the “pull” and aged parmesan for the “crunch,” we create a multi-dimensional golden crust that is visually and texturally superior.
- Infused Aromatics: Small bits of roasted minced garlic are tucked strategically under the cheese, allowing the garlic to soften and sweeten without ever becoming bitter or burnt.
- Visual Vibrancy: The final garnish of a fresh basil chiffonade and cracked black pepper adds a pop of bright green and bold spice that cuts through the richness of the melted cheese.
Essential Elements for the Ultimate Cheesy Tomato Bake
To achieve the result seen in professional food photography, every ingredient must serve a specific culinary purpose. Here is what you will need for your Baked tomatoes with cheese.
Roma (Plum) Tomatoes: These are the gold standard for baking because they have a lower water content and firmer walls than beefsteak varieties, ensuring they don’t turn into a watery mess in the oven. Look for tomatoes that feel heavy for their size and have a deep red hue.
Low-Moisture Mozzarella Cheese: 1.5 cups (170g) shredded. This type of mozzarella is essential for that thick, gooey layer that doesn’t release excess liquid, which would otherwise steam the tomatoes rather than roast them.
Aged Parmesan Cheese: 1/2 cup (50g) finely grated. The high protein and fat content in parmesan are what create that “golden toasted parmesan crust” we are looking for; it acts as the crispy structural topper for the mozzarella.
Extra Virgin Olive Oil: 3 tbsp (45ml). A high-quality oil provides the glistening sheen seen in the visual prompt and helps conduct heat to blister the tomato skins effectively.
Fresh Garlic: 4 cloves, minced. We will briefly sauté or “pre-roast” these bits to ensure they are mellow and sweet before they are tucked under the cheese blanket.
Fresh Basil: 1/4 cup (10g) loosely packed leaves. A sharp knife is required to create a “chiffonade”—thin, delicate ribbons—that provide an aromatic finish and a professional aesthetic.
Kosher Salt and Cracked Black Pepper: To taste. Salt is the “invisible” hero that draws out the tomato’s natural sugars, while coarse black pepper adds the visual and flavor “punch” required for an authentic food blog look.
Professional Kitchen Tools for Success
To replicate the rustic yet refined look of this dish, you will need a few specific tools. A rustic white ceramic baking dish is highly recommended, as ceramic retains heat evenly, helping the bottoms of the tomatoes caramelize without scorching.
You will also need a sharp chef’s knife to ensure the Roma tomatoes are cut into uniform, thick slices. If the slices are too thin, they will collapse under the weight of the cheese. Finally, a microplane or fine grater for the parmesan is key to achieving that delicate, sandy texture that browns so beautifully in the oven.
The Step-by-Step Path to Golden-Brown Perfection
Preparing the Roma Foundation
Start by preheating your oven to 400°F (200°C). Wash and dry your Roma tomatoes thoroughly; any surface moisture will prevent the skins from blistering properly. Slice the tomatoes into thick rounds, approximately 3/4 inch (2cm) thick.
Lay the slices out on a paper towel for 5 minutes. This small “pro tip” allows the tomatoes to release just enough surface juice to ensure the Baked tomatoes with cheese stay firm and don’t slide around the baking dish during the roasting process.
Roasting the Garlic and Infusing the Oil
In a small skillet, heat 1 tbsp (15ml) of the olive oil over medium-low heat. Add the minced garlic and cook for just 60 seconds until it becomes fragrant and takes on a very pale golden hue. Do not let it brown fully here, as it will continue to cook in the oven.
Remove the garlic from the heat. This “roasted minced garlic” technique ensures that the flavor is deeply embedded in the oil, which you will then use to brush the tomato slices, creating that glistening sheen mentioned in our visual blueprint.
Assembling the Cheesy Layers
Arrange the tomato slices in your rustic white ceramic dish. Brush each slice generously with the garlic-infused oil, making sure to distribute the bits of roasted garlic onto the surface of the tomatoes. Season each slice with a pinch of kosher salt.
Pile the mozzarella high on each slice. Don’t be afraid to be generous; we want a “thick, gooey layer.” Top the mozzarella with a heavy dusting of the finely grated parmesan. The parmesan acts as a shield, protecting the mozzarella from burning while it forms that coveted crispy crust.
Achieving the Blistered and Bubbly Finish
Place the dish in the center rack of the oven and bake for 12-15 minutes. You are looking for the cheese to be completely melted and the tomatoes to look slightly softened. To get that final “extreme close-up” look, turn your broiler to high for the last 2 minutes.
Watch closely! The broiler will transform the parmesan into a golden-brown crust and cause the tomato skins to blister and pop. You’ll hear the cheese bubbling and see the oil glistening. This is the sensory cue that your Baked tomatoes with cheese are ready.
Expert Tips for Recipe Success
- Temperature Control: Ensure your cheese is cold when it goes into the oven. This gives the tomato time to soften slightly before the cheese browns too quickly.
- The Basil Bloom: Never bake the basil. The heat of the oven will turn it black and bitter. Always add your chiffonade immediately after removing the dish from the oven so the residual heat “blooms” the aroma without destroying the color.
- Drain Your Tomatoes: If you find your Romas are particularly juicy, you can lightly salt them and let them sit on a rack for 15 minutes before baking to remove excess water.
- Cracked Pepper Visuals: Use a manual pepper grinder set to a coarse grind. The larger flecks of pepper provide a beautiful contrast against the white mozzarella and green basil.
Preserving the Flavor: Storage and Reheating
While Baked tomatoes with cheese are best enjoyed fresh from the oven when the crust is at its crispest, you can store leftovers in an airtight container in the refrigerator for up to 3 days. Note that the tomato will continue to release moisture, so the crust will soften.
To reheat, avoid the microwave, as it will make the tomatoes mushy. Instead, place them back in a toaster oven or air fryer at 350°F (175°C) for 5-7 minutes until the cheese is once again bubbling and the base is warm.
What to Serve With This Cheesy Masterpiece
These tomatoes are incredibly versatile. For a complete appetizer spread, consider pairing them with elegant cold appetizers or these delightful sun-dried tomato basil roll ups. The acidity of the tomatoes also makes them a perfect companion for rich meats.
If you’re serving these as a side dish for lunch, they pair beautifully with a light chickpea feta avocado salad or a refreshing cucumber ranch salad. For a dessert to follow this savory treat, consider something light like ricotta pistachio honey bites.
Frequently Asked Questions
Absolutely. Place the prepared tomato slices in the air fryer basket at 375°F (190°C) for 8-10 minutes. The air circulation is excellent for achieving those blistered skins and a crispy crust.
While Roma tomatoes are best due to their low water content, you can use Beefsteak or Heirloom tomatoes if you thick-slice them and drain the excess juice on paper towels for 15 minutes before baking.
The secret is the combination of mozzarella and finely grated parmesan. The parmesan has less moisture and browns faster, creating a ‘crust’ on top of the melting mozzarella. A quick 2-minute broil at the end is essential.
Yes! Baked tomatoes with cheese are naturally low in carbohydrates and high in healthy fats and protein, making them an excellent choice for keto and low-carb diets.
Sogginess usually occurs if the tomatoes have high water content or if you use fresh mozzarella. Use Roma tomatoes and pat them dry, and stick to low-moisture mozzarella to ensure a firm, cheesy bite.
The Ultimate Baked Tomatoes with Cheese Recipe
Baked tomatoes with cheese: The Ultimate Golden Crust Roma Slices
Ingredients
Equipment
Method
- Preheat oven to 400°F (200°C). Slice Roma tomatoes into 3/4 inch rounds and pat dry with paper towels to remove surface moisture.
- Sauté minced garlic in 1 tbsp olive oil over medium-low heat for 60 seconds until fragrant but not browned. Set aside.
- Place tomatoes in a ceramic dish. Brush with garlic oil and bits. Top with mozzarella, then parmesan.
- Bake for 12-15 minutes. Broil on high for 2 minutes until cheese is bubbly and tomato skins are blistered.
- Top with fresh basil chiffonade and cracked black pepper immediately before serving.
Notes
Always add basil after baking to keep it bright green.
Closing & Call to Action
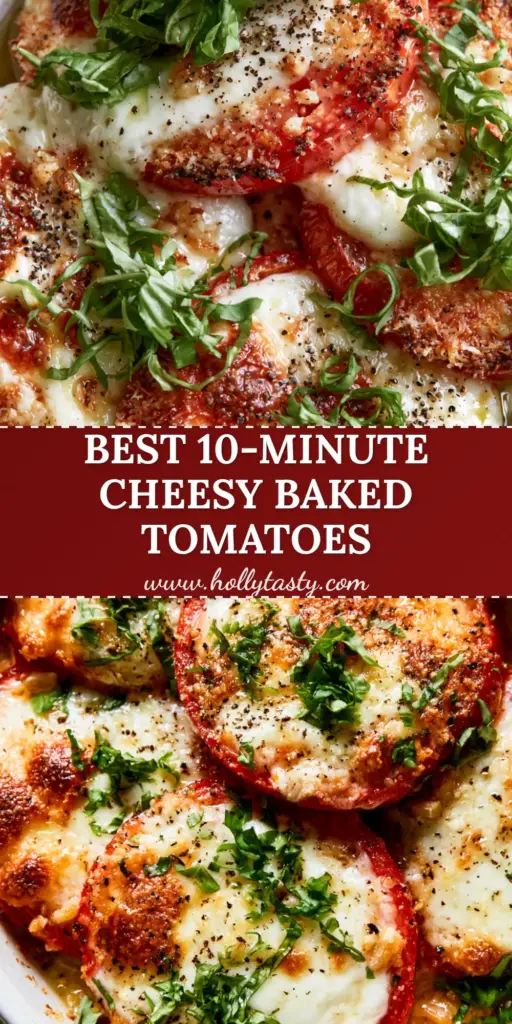
Mastering the Baked tomatoes with cheese is a rite of passage for any home cook who loves Italian-inspired flavors. The combination of the blistered Roma skins and that golden toasted parmesan crust creates a dish that is as visually stunning as it is delicious. We hope this recipe brings a touch of rustic elegance to your table!
If you enjoyed this recipe, please leave a comment below and let us know how your cheese crust turned out! Don’t forget to share your creations and follow us on Pinterest for more culinary inspiration and gorgeous food photography tips.