There is nothing quite as satisfying as the audible “snap” of a perfectly chilled, garden-fresh pickle. These Refrigerator pickles are designed for the home cook who demands professional-grade crunch without the hassle of a multi-day fermentation process or boiling water baths.
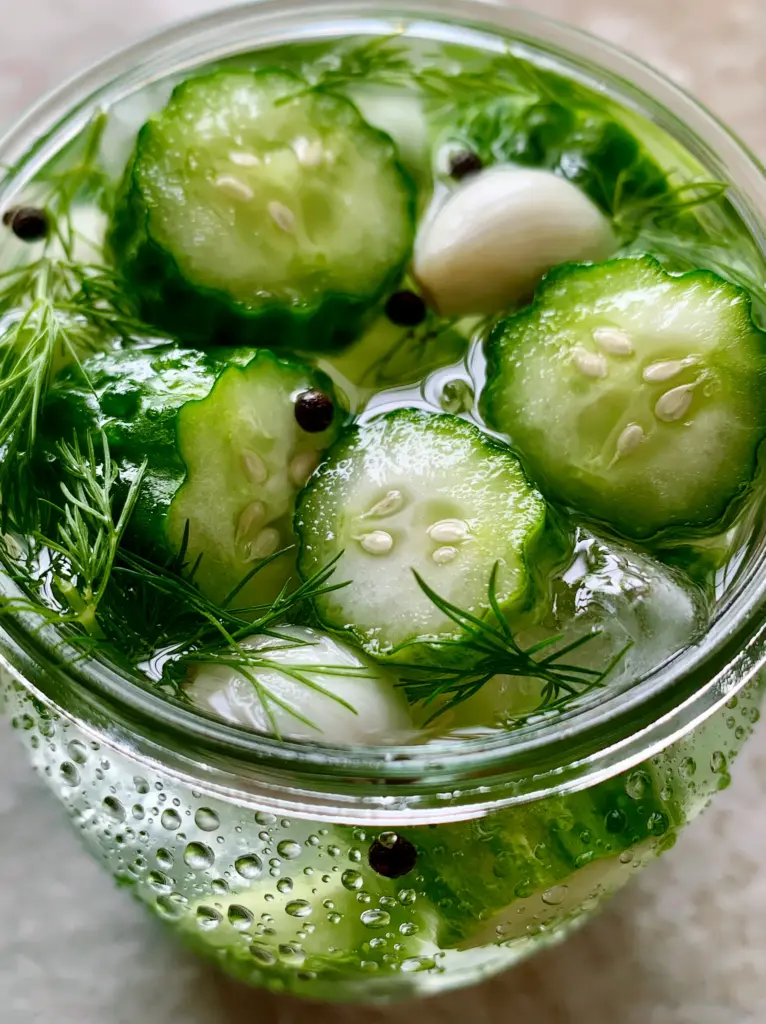
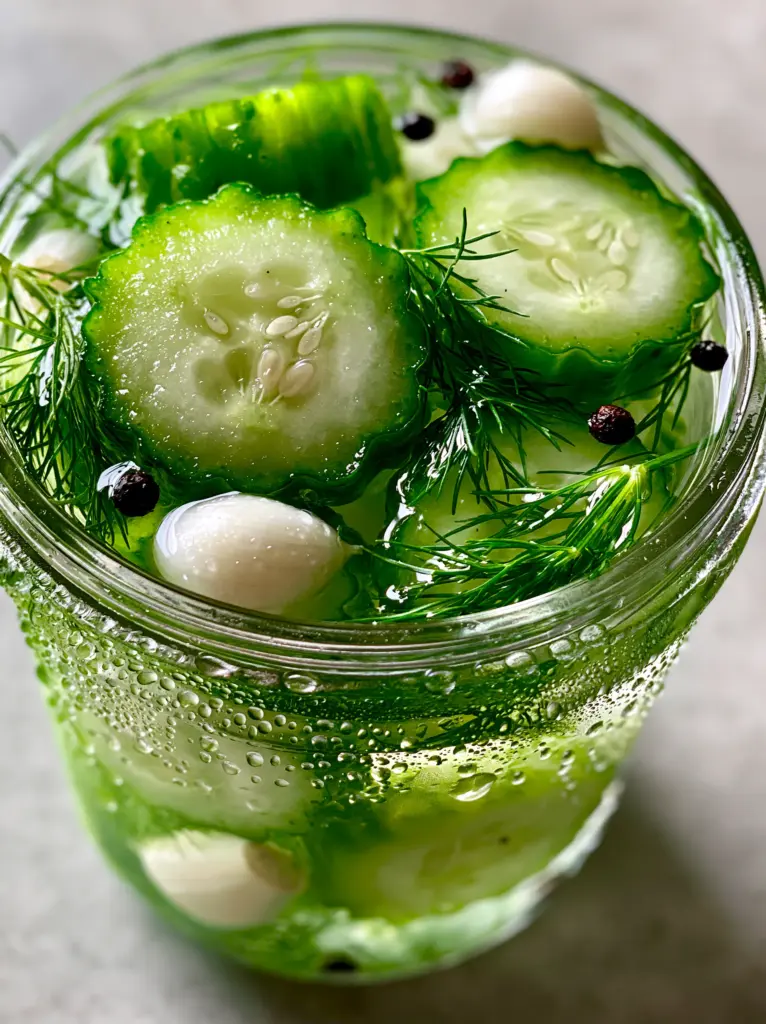
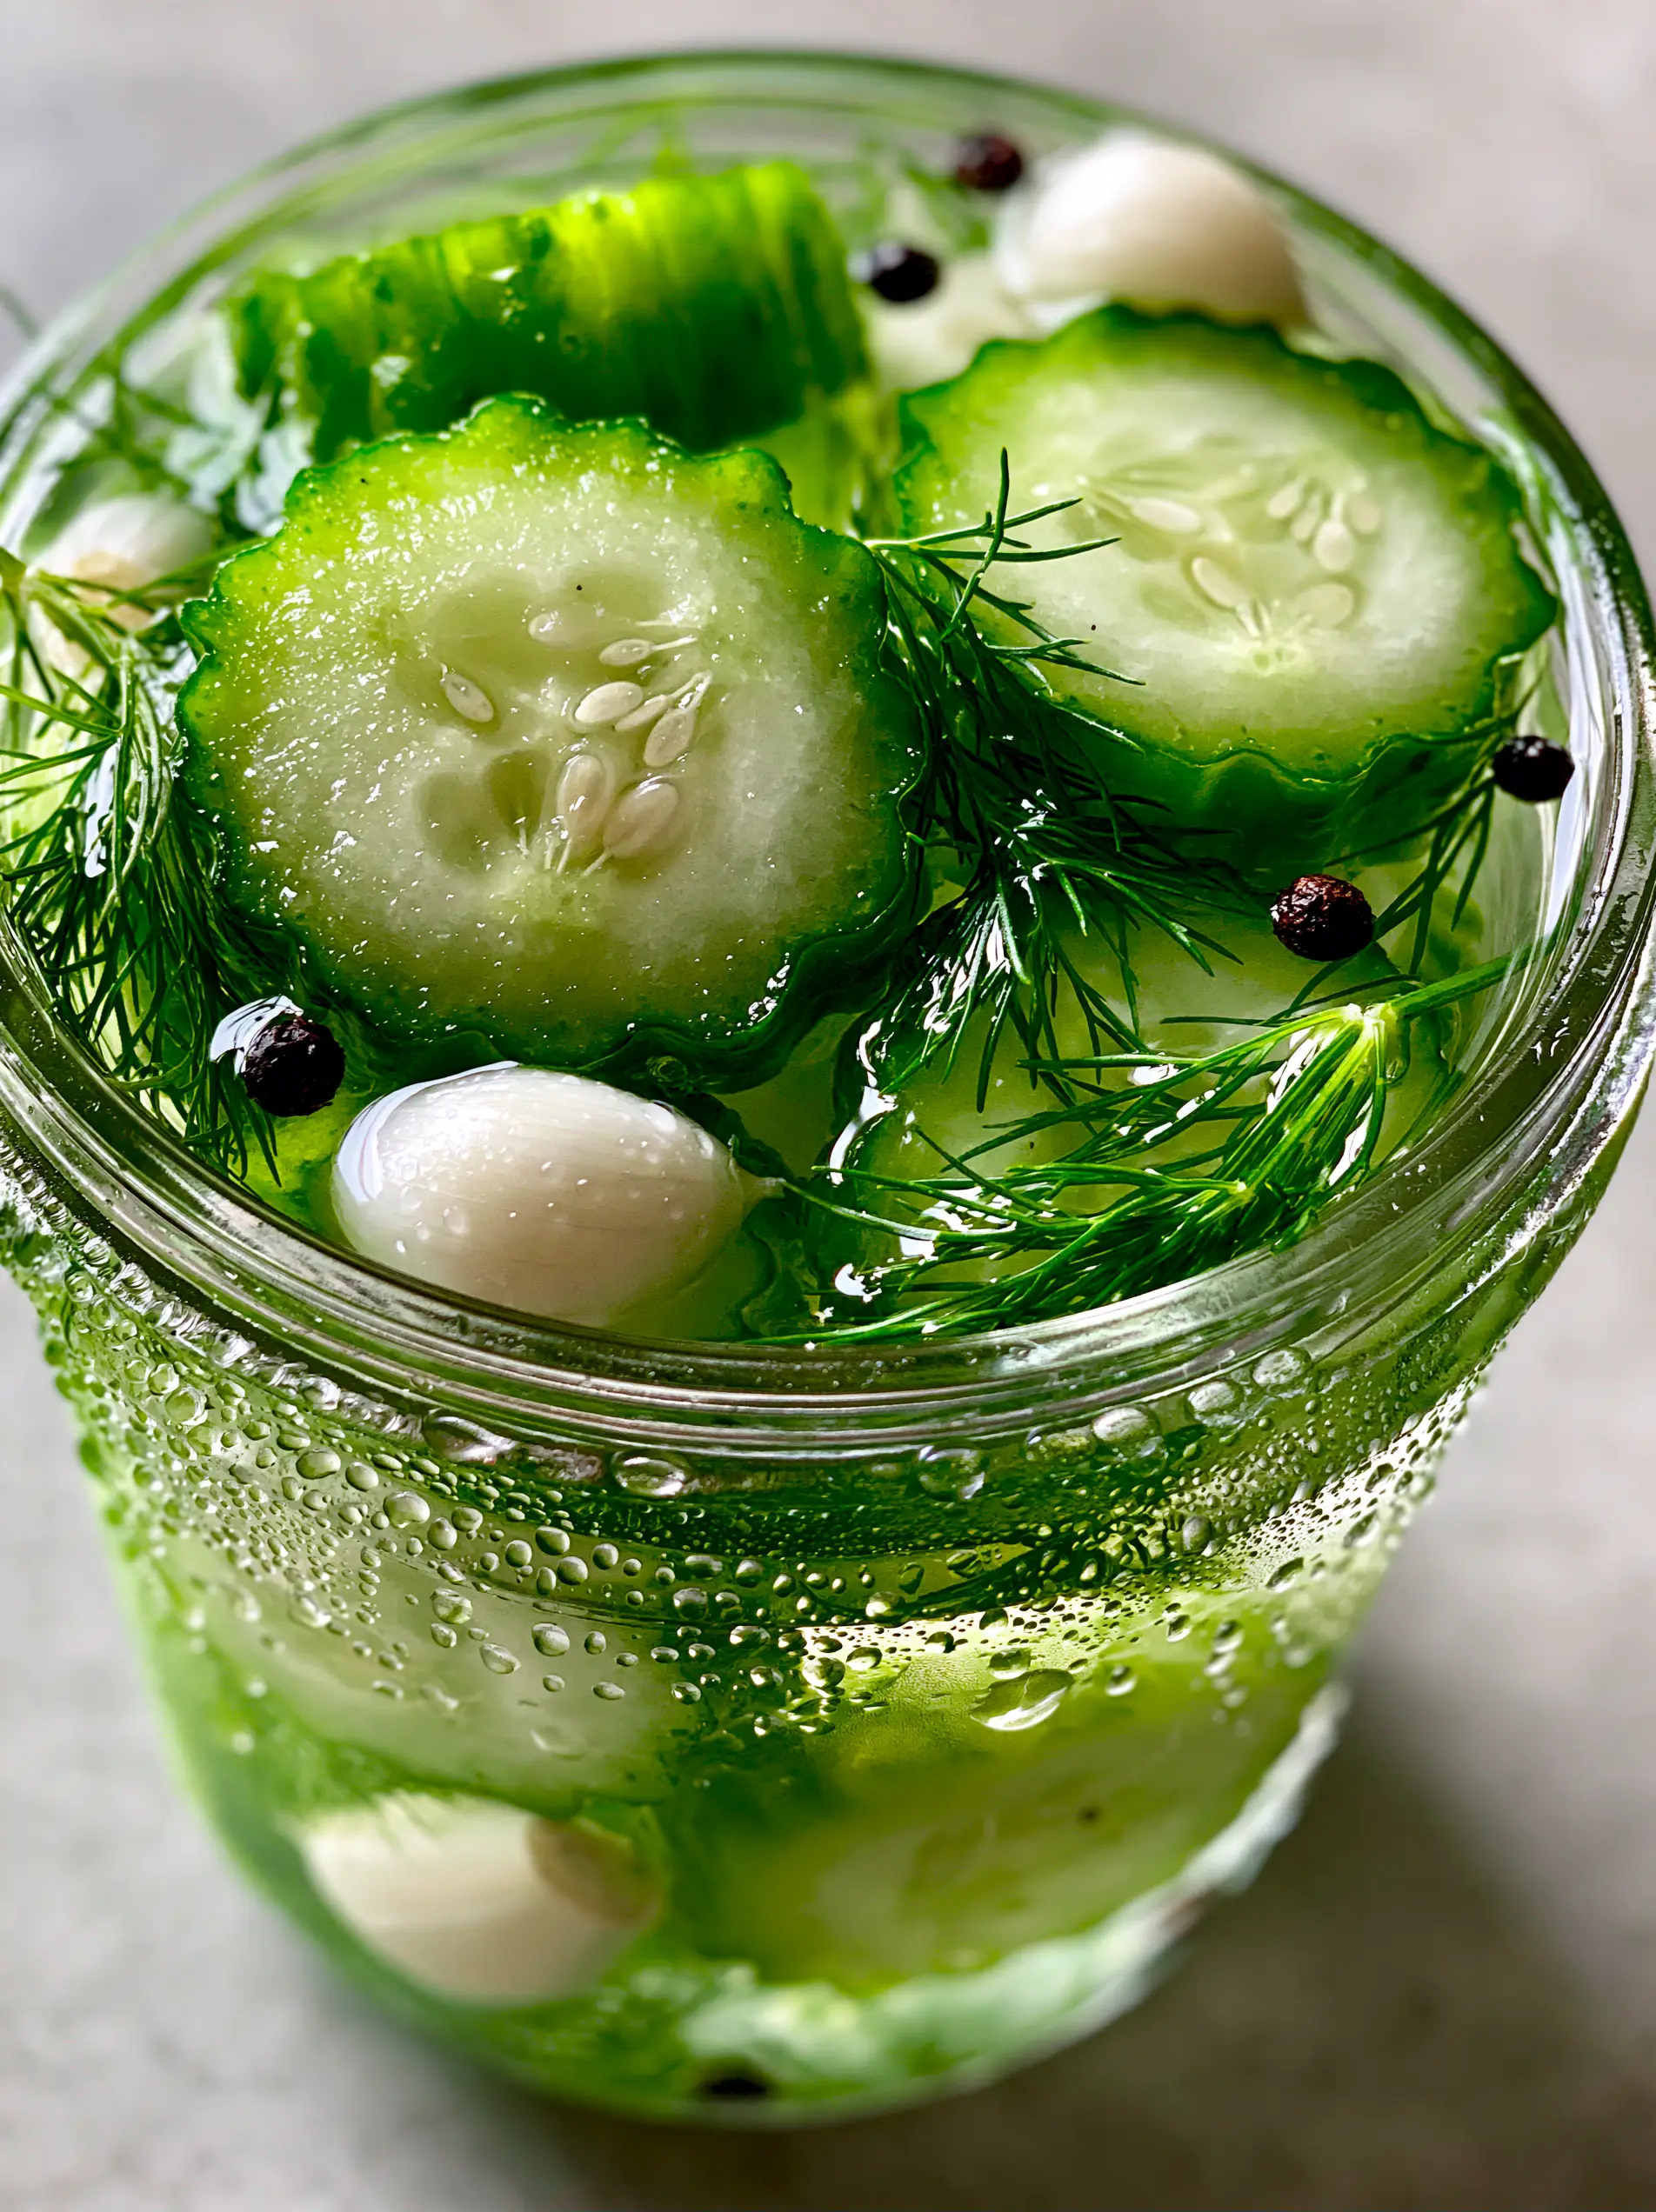
By using a specific cold-brining technique, we preserve the vibrant green hue of the cucumber skin and the startlingly pale white flesh seen in our visual blueprint. This recipe captures the essence of a summer harvest, bottled in a crystal-clear brine that sparkles under the morning light.
Imagine opening your fridge to see a row of glass mason jars, slick with cold condensation, revealing perfectly uniform crinkle-cut slices. Whether you are adding them to a sandwich or eating them straight from the jar, these pickles deliver a punch of acidity balanced by garlic and dill.
Why These Cold-Process Pickles Outperform Store-Bought Jars
- The Crinkle-Cut Advantage: The increased surface area of the wavy cut allows the brine to penetrate deeper while maintaining a structural “rigidity” that flat slices lack.
- Visual Clarity: We use a specific ratio of distilled white vinegar and filtered water to ensure your brine remains crystal-clear, showcasing every peppercorn and mustard seed.
- Forensic Freshness: Unlike canned pickles which are heat-processed and can become mushy, these remain ice-cold and remarkably firm.
- Aromatic Depth: Whole peeled garlic cloves and fresh green dill sprigs infuse the cucumbers with a sharp, garden-fresh profile that bottled versions can’t replicate.
The Anatomy of a Perfect Brine: Essential Ingredients
To achieve the visual and textural standards of our blueprint, every ingredient serves a dual purpose: flavor and physics. Use high-quality produce for the most vibrant results.
Kirby or Persian Cucumbers: You will need 1.5 lbs (680g) of firm, bumpy cucumbers. Their low moisture content and thick skin are what create that deep green exterior and crisp white interior.
Distilled White Vinegar: Use 1.5 cups (355ml) of 5% acidity vinegar. This is the secret to the “crystal-clear” liquid; apple cider vinegar would cloud the jar and mask the cucumber’s color.
Filtered Water: 1.5 cups (355ml) of water balances the acidity. Filtered water prevents minerals from reacting with the garlic, which can sometimes turn garlic blue in tap water.
Pickling Salt: 2 tbsp (36g) of pure granulated salt. Unlike table salt, pickling salt has no anti-caking agents, ensuring your brine stays transparent rather than murky.
Granulated Sugar: 1/4 cup (50g) of sugar. This doesn’t make the pickles “sweet” but rather rounds out the harshness of the vinegar for a balanced palate.
Fresh Green Dill Sprigs: 4-6 large sprigs. The blueprint requires vibrant green dill; ensure you use fresh stalks rather than dried weed for that herbaceous aroma.
Whole Garlic Cloves: 4-6 cloves, peeled. These provide a sharp, pungent backbone and look stunning submerged in the clear liquid.
Black Peppercorns & Yellow Mustard Seeds: 1 tsp (3g) of each. These floating aromatics add visual texture and a subtle, warming spice to every bite.
Tools for the Master Pickler
To replicate the macro handheld photo results, you need the right geometry. A crinkle-cutter or a mandoline with a wavy blade is essential for those iconic ridges.
You will also need two 16oz (473ml) wide-mouth glass mason jars. The wide mouth allows you to stack the slices tightly, ensuring they stay submerged beneath the brine level.
Step-by-Step: Engineering the Perfect Refrigerator Pickles
Preparing the Signature Crinkle Cut
Wash your cucumbers thoroughly in ice-cold water to firm up the cell walls. Using a crinkle-cutter, slice the cucumbers into 1/4 inch (6mm) rounds, ensuring uniformity for even brining.
Building the Aromatic Foundation
In each clean mason jar, drop in 2-3 whole peeled garlic cloves, half of the mustard seeds, and half of the black peppercorns. Slide the fresh dill sprigs down the sides of the glass so they are visible from the outside.
Packing the Jar for Visual Impact
Tightly stack the crinkle-cut cucumber slices into the jars. Pack them firmly enough that they won’t float, but leave about 1/2 inch (12mm) of headspace at the top for the brine.
The “Clear-Cloud” Brine Method
In a medium saucepan, combine the vinegar, filtered water, salt, and sugar. Heat over medium-high, stirring constantly until the liquid is completely clear and the solids are dissolved.
The Cold Shock and Cure
Let the brine cool to room temperature before pouring it over the cucumbers; pouring boiling liquid will “cook” the cucumber and ruin the crispness. Once covered, seal the jars and move them immediately to the back of the fridge.
Expert Tips for Ultra-Crisp Results
- The “Tannin” Trick: Drop a single clean grape leaf or a pinch of black tea into the jar. The tannins help keep the cucumbers structurally sound and crunchy.
- Temperature Control: Always start with ice-cold cucumbers. If the cucumbers are warm when sliced, they lose internal turgor pressure.
- The 24-Hour Rule: While you can eat them after 4 hours, the flavors peak after 24 hours of cold-steeping.
- Avoid “Hollow” Hearts: If your cucumbers have large seed pockets, they will soften faster. Select younger, smaller cucumbers for a solid white flesh.
Shelf Life and Storage Logistics
These Refrigerator pickles must be stored in the refrigerator at all times. Because they are not heat-processed, they are not shelf-stable and will spoil if left at room temperature.
In the fridge, they will maintain their peak “snap” for about 3 to 4 weeks. After a month, the cucumbers will begin to lose their vibrant green color and turn a more olive drab, though they remain safe to eat as long as the brine is clear.
What to Serve with Your Hand-Crafted Pickles
These crisp slices are the perfect acidic counterpoint to rich, savory dishes. Try serving them alongside our vegetarian dinner recipes for a refreshing brightness.
They also pair beautifully as a side for a summer feast including peach feta salad or as a topping for burgers served after a long day of back-to-school dinner prep.
For a complete spread, include them on a platter with zucchini scarpaccia or even next to some experimental watermelon fries for a fun texture contrast.
Common Questions About Quick Pickling
Yes, but it will change the color of the pickles to a brownish-olive and the brine will be amber rather than clear. Distilled white vinegar is best for a clean, sharp look.
Sugar helps balance the high acidity of the vinegar. You can omit it, but the pickles will have a much harsher, more aggressive vinegar bite.
You can eat them after 4 hours, but for the best flavor development and texture, wait 24 to 48 hours.
This is a natural reaction between the sulfur in the garlic and trace minerals in the water or the acidity of the vinegar. It is safe to eat, though using filtered water can prevent it.
Cloudy brine is usually caused by using table salt with anti-caking agents or tap water with high mineral content. Use pickling salt and filtered water for a crystal-clear result.
The Ultimate Refrigerator Pickles Recipe

Refrigerator Pickles: The Ultimate Ultra-Crisp Crinkle-Cut Guide
Ingredients
Equipment
Method
- Wash cucumbers in cold water and slice into 1/4 inch (6mm) rounds using a crinkle-cutter for maximum texture.
- Place garlic, peppercorns, mustard seeds, and fresh dill sprigs into the bottom of two 16oz (473ml) glass jars.
- Firmly pack the cucumber slices into the jars, leaving a small gap at the top.
- Combine vinegar, water, salt, and sugar in a saucepan over medium heat. Stir until the liquid is crystal-clear and solids are dissolved.
- Allow brine to cool to room temperature, then pour over cucumbers until fully submerged. Seal jars and refrigerate immediately.
Notes
Let sit for 24 hours for the best flavor infusion.
Closing & Call to Action
Mastering the art of Refrigerator pickles is a gateway to elevating every meal in your kitchen. These jars are not just a condiment; they are a vibrant, crunchy testament to simple ingredients handled with care.
If you enjoyed this guide to ultra-crisp cucumbers, please leave a comment below and let us know how your batch turned out! Don’t forget to share your photos and follow us on Pinterest for more culinary inspiration.