There is something inherently celebratory about a Cherry Dessert Pizza. It captures the nostalgic joy of a classic fruit pizza but elevates it to a high-end bakery standard with a thick, golden-brown crust and a glossy, ruby-red finish. This isn’t just a cookie with some fruit on top; it is a meticulously layered masterpiece designed to be the centerpiece of your dessert table.
Imagine a foundation that is soft, buttery, and substantial enough to hold a generous mountain of toppings without folding. Now, picture that base topped with an airy, whipped cream cheese cloud, finished with plump, succulent whole cherries nestled in a translucent, thick syrup. Whether you are serving this under soft morning light or as a late-night indulgence, the visual and textural contrast—the “peaks and valleys” of the frosting against the “ruby-red” fruit—is simply irresistible.
In this guide, we are diving deep into the culinary science required to achieve that perfect 45-degree-angle-worthy slice. From preventing a soggy crust to mastering the aeration of your cream cheese, every step is designed for maximum flavor and professional-level aesthetics. If you love fruit-forward treats, you might also want to check out our Apple Crisp Pizza for those cozy autumn vibes.
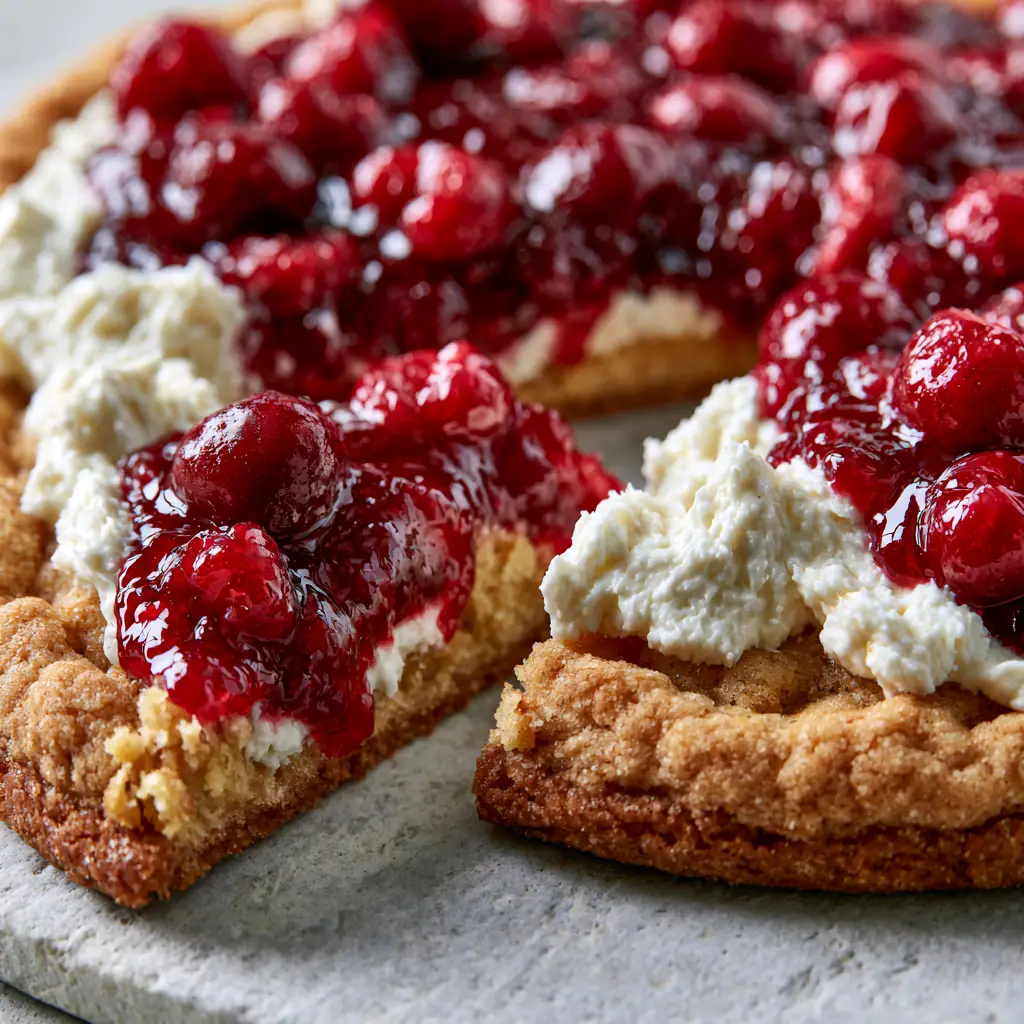
Why This Gourmet Cherry Pizza Stands Out
- The Foundation: A thick, soft-baked sugar cookie crust that features visible buttery crumbs and a tender, melt-in-your-mouth interior.
- Textural Harmony: The contrast between the airy, whipped cream cheese frosting and the thick, glossy red fruit syrup creates a complex mouthfeel.
- Visual Brilliance: Whole pitted cherries provide a succulent pop of color and shape, making every slice look like it came from an artisan bakery.
- The “Crumble” Factor: A final dusting of golden cookie crumbs adds a professional finish and a subtle crunch that ties the dish together.
Creating a dessert this stunning requires more than just a recipe; it requires an understanding of how ingredients interact. We aren’t just baking a cookie; we are constructing a structural base that supports a heavy, moisture-rich topping. This recipe is a fantastic addition to your collection of no-bake summer desserts and baked favorites alike.
Essential Ingredients for the Ultimate Sugar Cookie Base
Unsalted Butter: 1 cup (227g) of room-temperature butter is the heart of our crust. It provides the fat necessary for that “soft-baked” texture and the rich, buttery flavor that mimics a high-end shortbread.
Granulated Sugar: 1.5 cups (300g) of sugar does more than sweeten. It aids in the creaming process, trapping air to ensure the crust remains light rather than dense and rock-hard.
Large Eggs: 2 large eggs (approx. 100g) act as the primary binder. They provide the protein structure needed to support the thick layer of cream cheese and heavy cherry filling.
Vanilla Extract: 2 tsp (10ml) of high-quality pure vanilla extract. This “invisible” ingredient bridges the gap between the sweet crust and the tartness of the cherries.
All-Purpose Flour: 3 cups (375g) of flour provides the bulk of our pizza. We use a precise amount to ensure the crust is thick and golden-brown without becoming dry or crumbly.
Baking Powder & Salt: 1 tsp (5g) of baking powder for a gentle rise and 0.5 tsp (3g) of salt to balance the sweetness. These are the scientific essentials for a balanced dough.
Cream Cheese: 16 oz (450g) of full-fat brick cream cheese. This is the base for our “peaks and valleys” frosting, providing the tangy richness that cuts through the sugar.
Heavy Whipping Cream: 0.5 cup (120ml) of cold heavy cream. Folding this into the cream cheese is the secret to an “airy” and “whipped” texture that stays stable on the pizza.
Cherry Pie Filling: 21 oz (595g) of premium glossy cherry pie filling. Look for brands that specify “extra fruit” to ensure those plump, whole succulent cherries are front and center.
The Baker’s Toolkit: Tools for Success
To achieve the “authentic handheld smartphone photo quality” look shown in our images, you need the right tools. A 12-inch (30cm) pizza pan or a large baking sheet is essential for the base. A stand mixer or electric hand mixer is non-negotiable for achieving the aeration required for the frosting.
An offset spatula is your best friend for creating those “peaks and valleys” in the cream cheese layer. Unlike a regular knife, the offset blade allows you to spread the frosting unevenly on purpose, mimicking the artisanal look of a gourmet bakery. Finally, a minimalist light grey stone surface or a simple wooden board provides the perfect backdrop for your cold appetizers and dessert displays.
Step-by-Step Instructions for the Perfect Cherry Pizza
1. Crafting the Soft-Baked Cookie Foundation
Preheat your oven to 350°F (175°C). In a large bowl, cream together the room-temperature butter and granulated sugar for at least 3-4 minutes. You are looking for a visual change: the mixture should turn pale yellow and look fluffy. This aeration is what creates the “soft interior” mentioned in our blueprint.
Add the eggs one at a time, followed by the vanilla. Sift in your dry ingredients—flour, baking powder, and salt. Mix until just combined. Over-mixing at this stage will develop gluten, leading to a tough, bread-like pizza rather than a tender cookie. Press the dough into a greased 12-inch pizza pan, leaving a slightly thicker border at the edge to create a “crust” look.
2. Achieving the Golden-Brown Bake
Bake for 15-18 minutes. Watch for the sensory cues: the edges should be a “visible golden-brown,” while the center remains slightly pale and soft to the touch. It will firm up as it cools. If you want those “buttery crumbs” for the topping, bake a small 2-inch “tester cookie” of leftover dough alongside the pizza to crumble later.
3. Whipping the Airy Cream Cheese Frosting
While the crust cools completely (this is vital!), beat the softened cream cheese with 1 cup (120g) of powdered sugar. In a separate cold bowl, whip the heavy cream until stiff peaks form. Gently fold the whipped cream into the cream cheese. This technique creates a stable, voluminous frosting that won’t melt or run, allowing you to create those beautiful peaks and valleys.
4. The Glossy Cherry Assembly
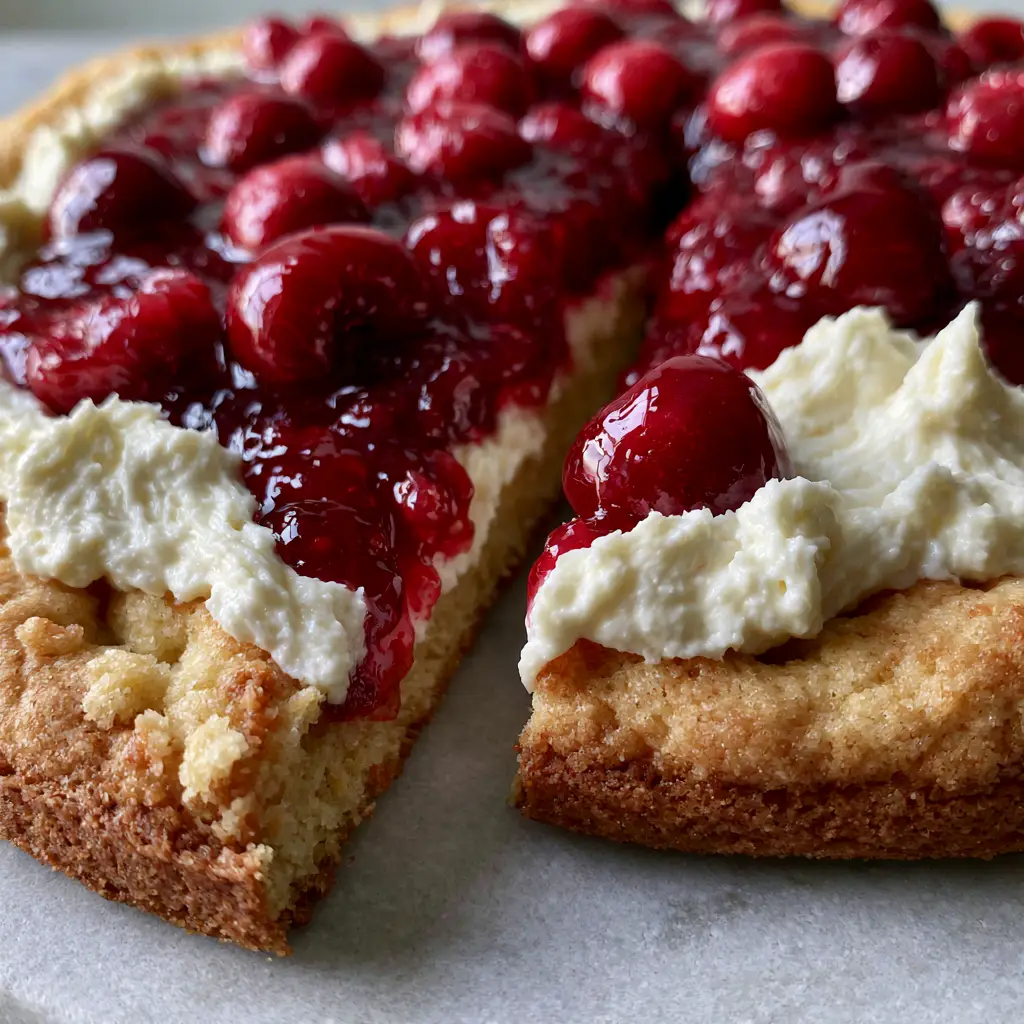
Spread the whipped frosting over the cooled crust, leaving a small border of the golden cookie visible. Use your offset spatula to create an uneven, textured surface. Spoon the glossy cherry pie filling over the center. Ensure the “thick, translucent ruby-red syrup” coats the whole cherries, and let some of the red glaze drip naturally into the valleys of the white frosting.
5. The Final Artisanal Touches
Take your reserved “tester cookie” or some golden edges and crumble them between your fingers. Sprinkle these “golden cookie crumbs” over the top. This adds a layer of sophistication often found in high-end bakeries. For more fruit-based dessert inspiration, you might enjoy our Peach Dumplings.
Expert Tips for Bakery-Style Results
- The Temperature Rule: Never frost a warm pizza. The whipped cream cheese contains heavy cream, which will liquefy if it touches a warm crust, ruining the “peaks and valleys.”
- Syrup Consistency: If your cherry filling looks too thin, simmer it in a small saucepan with a teaspoon of cornstarch dissolved in water for 2 minutes until it becomes “thick and translucent.”
- Slicing Precision: For that perfect “single slice pulled forward” shot, chill the pizza for at least 1 hour before cutting. Use a hot, clean knife for every single cut.
- Crust Thickness: Aim for a thickness of about 0.5 inches (1.25cm). This provides the structural integrity needed to support the “plump, whole succulent cherries.”
Make-Ahead, Storage, and Freezing
This Cherry Dessert Pizza is an excellent candidate for make-ahead prep. You can bake the sugar cookie crust up to 2 days in advance; just keep it wrapped tightly at room temperature. The frosting can also be made a day early and stored in the fridge.
Once assembled, the pizza should be kept in the refrigerator. It stays fresh and delicious for about 3 days. We do not recommend freezing the fully assembled pizza, as the cherry syrup can bleed into the frosting during the thawing process, losing that sharp visual contrast. However, the un-frosted cookie base freezes beautifully for up to 3 months.
If you’re looking for more treats that store well, our Lemonade Puppy Chow is another crowd favorite that’s perfect for gifting or parties.
What to Serve with Cherry Dessert Pizza
This pizza is a star on its own, but it pairs beautifully with other “pizza-style” desserts. Create a dessert pizza bar by serving it alongside a Sweet Cinnamon Swirl Pizza. The contrast between the tart cherries and the warm cinnamon is spectacular.
For a full spread, balance the sweetness with some savory options. Pieces of this dessert look stunning next to Ricotta Pistachio Honey Bites or even a light Chickpea Feta Avocado Salad if you are hosting a brunch. The vibrant red of the cherries also makes this a natural companion for our No-Bake Oreo Dessert for a red-and-black themed party.
Common Questions About Dessert Pizzas
You can, but you will need to simmer them with sugar and a cornstarch slurry to achieve that characteristic ‘glossy, thick red fruit syrup’ seen in the blueprint.
Yes, but for the ‘high-end bakery’ look with visible buttery crumbs and a soft interior, our homemade recipe provides more structural integrity for the heavy cherry topping.
Ensure your cream cheese frosting has ‘peaks and valleys’ to trap the syrup, and make sure the syrup is thick and translucent before topping.
Because of the cream cheese frosting and heavy cream, it should not be left out for more than 2 hours. Keep it refrigerated until ready to serve.
This usually happens from over-baking or over-mixing the dough. Bake just until the edges are golden-brown and the center is set but still pale.
Gourmet Cherry Dessert Pizza Recipe
Cherry Dessert Pizza with a Thick Soft-Baked Sugar Cookie Crust
Ingredients
Equipment
Method
- Cream 1 cup (227g) butter and 1.5 cups (300g) sugar until pale and fluffy (3-4 mins).
- Add eggs and vanilla, then sift in flour, baking powder, and salt. Mix until just combined.
- Press into a 12-inch pan. Bake at 350°F (175°C) for 15-18 minutes until golden-brown. Cool completely.
- Beat cream cheese and powdered sugar. Fold in whipped heavy cream to create an airy texture.
- Spread frosting with peaks and valleys. Top with cherry filling and reserved golden cookie crumbs.
Notes
Use an offset spatula for the artisanal 'peaks and valleys' look.
Bring the Bakery Home Today!
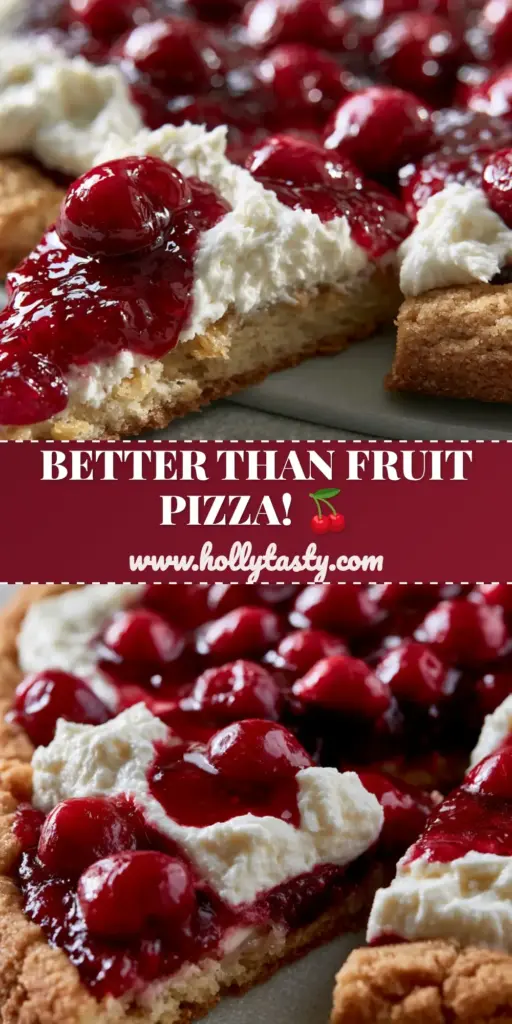
Mastering the Cherry Dessert Pizza is a surefire way to impress your guests and satisfy your sweet tooth. With its thick, buttery crust and glossy ruby topping, it offers a professional aesthetic that is remarkably easy to achieve with the right techniques. The combination of soft-baked cookie and airy cream cheese is a timeless classic for a reason.
We would love to see your creations! Did you manage to get those perfect frosting peaks? Tag us in your photos or leave a comment below with your favorite fruit toppings. Don’t forget to follow holly_tasty on Pinterest for more visual recipe inspiration and share this recipe with your fellow home cooks!